
A fast website relies on a multitude of different strategies, tactics, and technologies. Caching is the technological route, and it can help your WordPress website perform well for almost all end users. However, you’ll need a good plugin, and many site owners look to install and setup the W3 Total Cache plugin.
This has a long history within WordPress circles. It has lots of users, plenty of good ratings and reviews, and a wealth of functionality to employ. In fact, lots of users struggle with the setup of W3 Total Cache because it offers so much.
As such, this tutorial will show you how to install and setup W3 Total Cache on your WordPress website. First, let’s introduce you to the concept of caching, and how W3 Total Cache helps you to carry it out.
A Quick Summary of Caching (And What the W3 Total Cache Plugin Does)
A typical website includes many different files that live on a server. In order to view a website in a browser on the other side of the world, those files need to shuttle between different servers. However, the browser has to load these files, which can take time – especially if those files are large. This is where caching comes into play.
You can think of it as storage for files that you use often. You’ll find a cache as a permanent fixture in many applications, and even your Operating System (OS.) In this case, the cache will store files on your server, ready to recall.
However, a website or browser cache will save certain files from the websites you’ll look at the most. When you head back to the site, the cache will retrieve the files, which cuts down on the loading time. The end result is a site that loads fast by default.
For WordPress users, you’ll often use a plugin to implement web caching on your site. There are lots available, and they all focus on different server types and applications. The WPKube blog uses the WP Rocket plugin – a premium solution. However, there is one plugin that you might want to use as your first, possibly only, caching plugin. Let’s look at it next.
W3 Total Cache
The W3 Total Cache plugin is a longstanding solution to implement caching on your WordPress website. It’s a mammoth plugin, with a lot of options.
The developers call it a Web Performance Optimization (WPO) framework, that comes with a number of key features and functionalities:
- You can cache almost every aspect of your site, such as pages, posts, core files, database objects, memory fragments, Really Simple Syndication (RSS) feeds, and much more.
- There is an option to set up a dedicated browser caching option, alongside other elements of your site.
- You can choose to ‘defer’ how you load some files. This is important to almost order the way your site loads, from quickest file to slowest.
- You’re able to link your Content Delivery Network (CDN) to the plugin, to improve performance even further.
The good news is that you won’t need to pay to use W3 Total Cache. The plugin offers almost all the functionality you need for free.
On the whole, the W3 Total Cache plugin lets you improve your site’s performance, which can also benefit your Search Engine Optimization (SEO) and ranking. If you set up the plugin in the right way, you should see improvements to your loading times, server performance, bandwidth usage, and more. Over the rest of the article, we’ll show you how to do this.
How to Install and Setup the W3 Total Cache Plugin in 5 Steps
Across the rest of the post, we’ll show you how to set up a complete caching solution for your WordPress website. Here are the steps we’ll cover:
- Installation and activation.
- Running through the setup guide.
- Activating lazy loading.
- Implementing a CDN.
- Minifying your files.
From there, we’ll cover one important task: clearing your cache. First though, we’ll install the plugin.
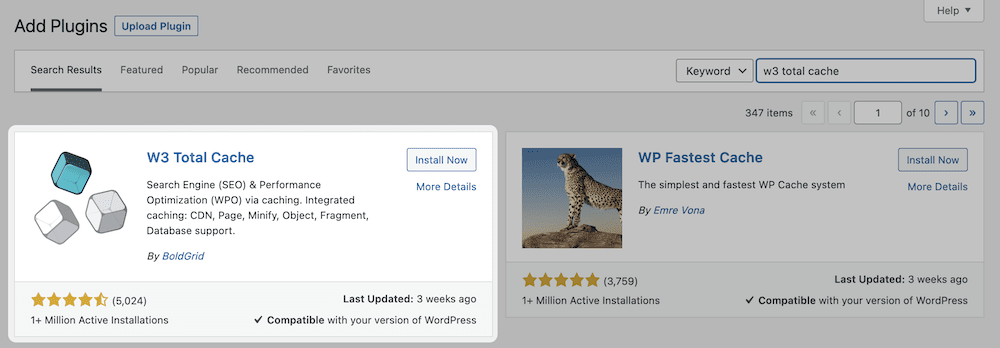
Step 1: Install and Activate the W3 Total Cache Plugin
You’ll install W3 Total Cache in the same way you’ll do so with any other WordPress plugin – through the Plugins > Add New screen within the WordPress dashboard:
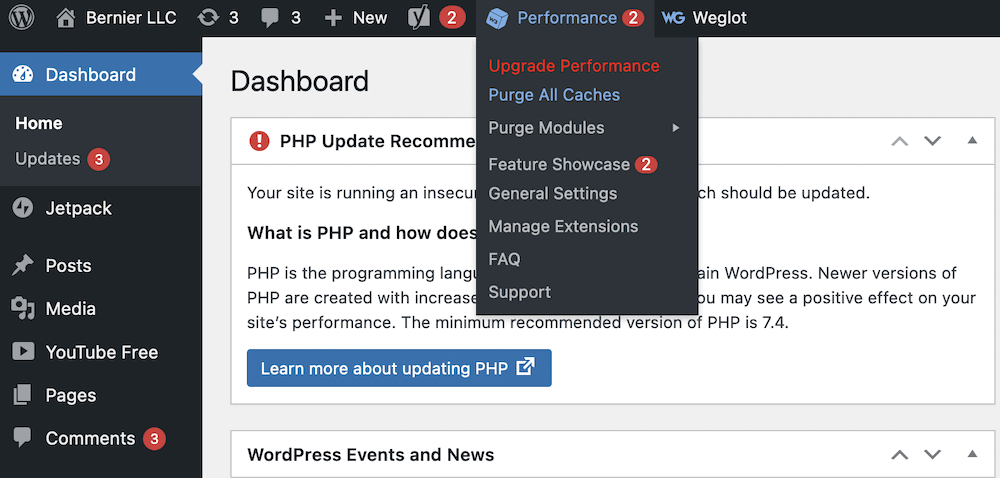
Once you complete the activation, you’ll spot some new options on the left-hand sidebar of the dashboard. The core W3 Total Cache settings are on the Performance screen:
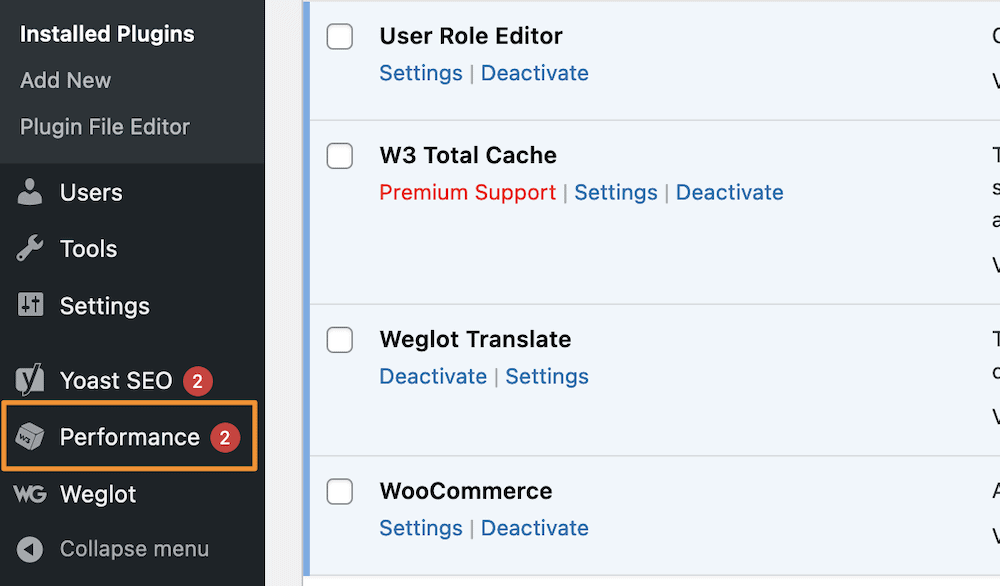
You’ll see a number of options here, and while we won’t go into them all, you can set up the main ones through the Setup Guide link. This will take you through a few steps for all of the most important facets of W3 Total Cache, for which you’ll click the Next button to continue:
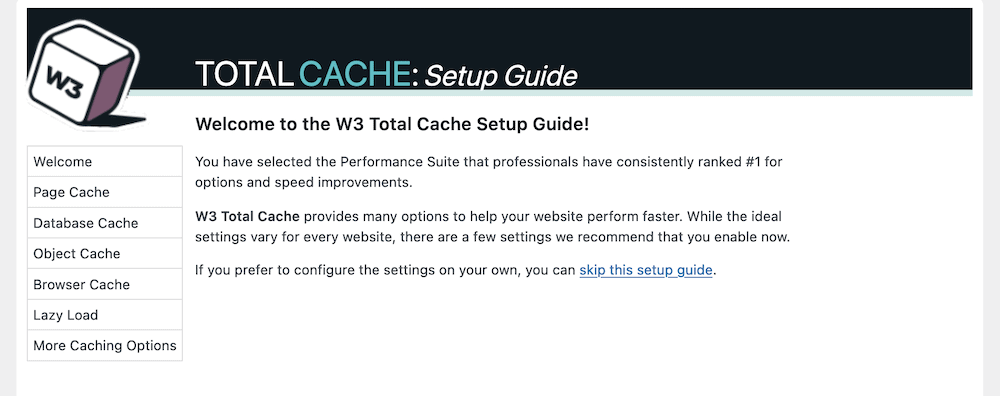
The first set of options looks at the different caching options at your disposal.
Step 2. Setup Caching Within the Plugin
The setup guide lets you set options for each individual cache on offer. There are four to work with:
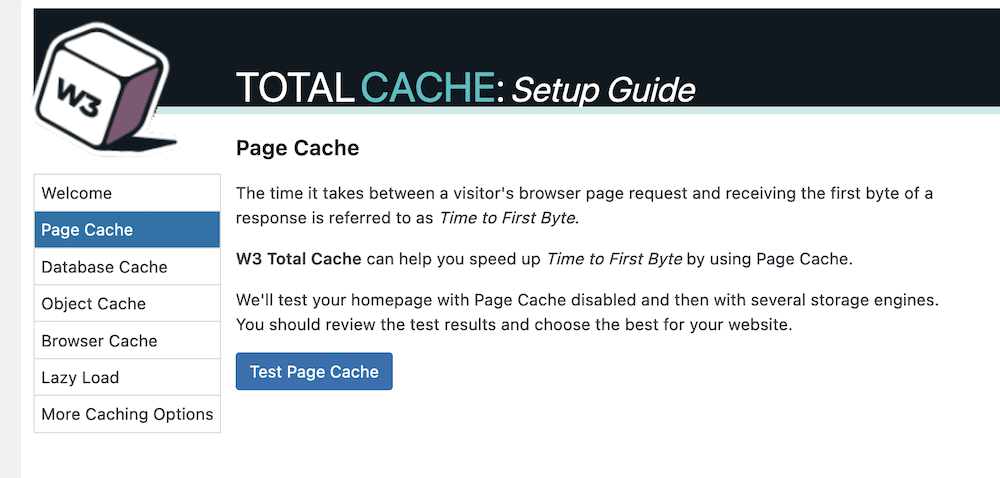
- Page cache. This will make the time between the user’s request and the initial page load – the Time to First Byte – shorter.
- Database cache. You’ll save regular database queries with this cache.
- Object cache. Using this, the plugin will store the ‘objects’ your site uses within its core to build your pages.
- Browser cache. This stores files on a user’s local computer, and consists of those they will access on a regular basis.
The Page Cache screen lets you carry out a test, and you should click the blue button here:
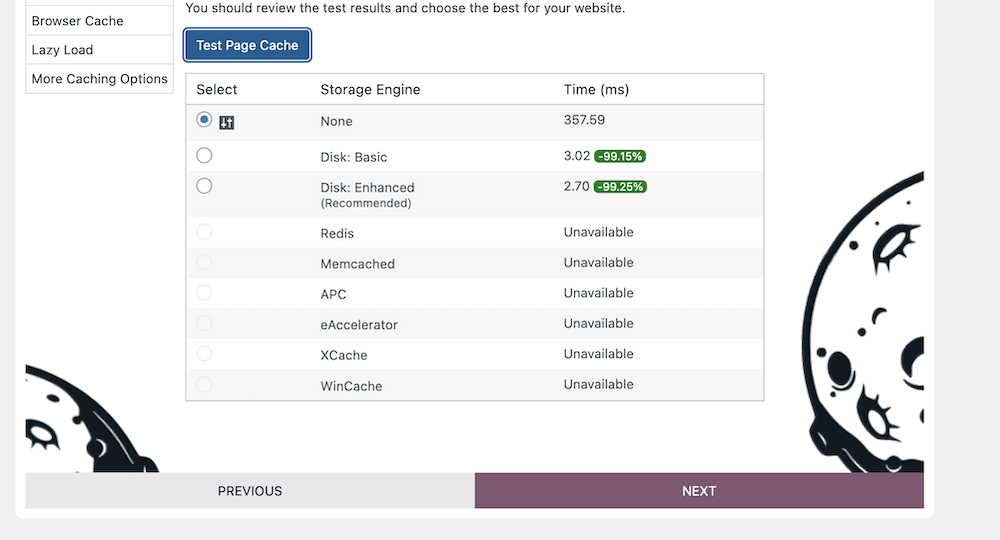
Once the test completes, you’ll see a few options to choose from. Our advice is to opt for the Storage Engine that the plugin recommends, then click the Next button:
It’s a similar situation with the Database Cache. However, once you click the Test Database Cache and view the results, you won’t necessarily see a recommended option.
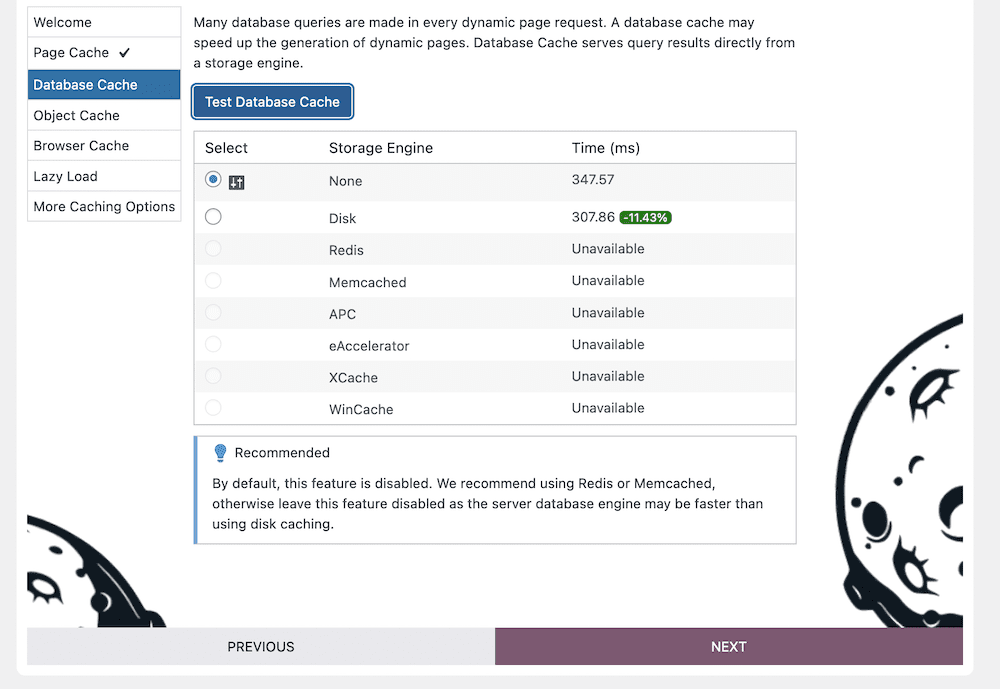
This is because unless you choose a Redis or Memcached storage engine, you should disable this cache for performance issues.
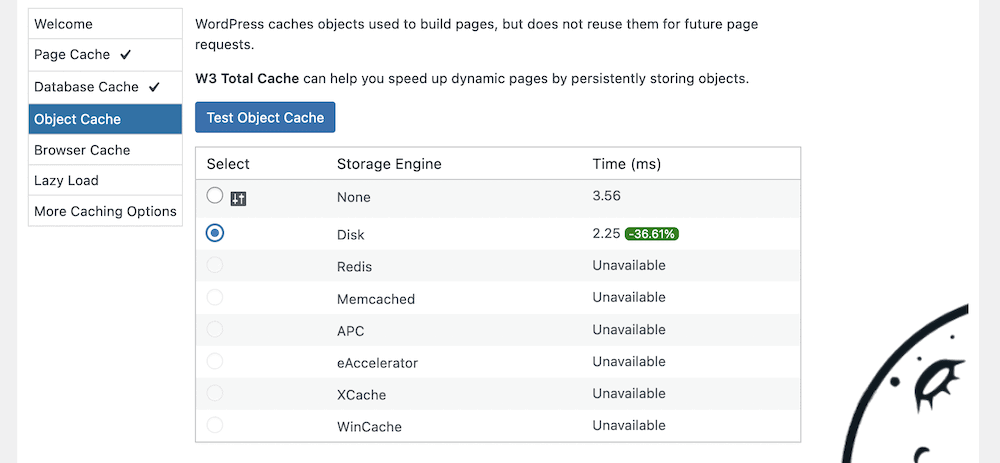
You should carry out the same process as the Page Cache for your Object Cache and Browser Cache: Test the cache out and choose the recommended or fastest option available:
Once you complete this section and click the Next button, you’ll come onto ‘lazy loading.’
Step 3. Set Up Lazy Loading
In short, lazy loading is where a site will wait to load content to the page until a user scrolls to it. The most common application is media, because it is often the largest aspect on your website, both with regards to file size and resources.
There are lots of plugins available to help with lazy loading, but W3 Total Cache includes this by default. To enable it, click the checkbox within the Setup Guide:

Once you do this and click the Next button, you’ll get to review your settings on a final screen:
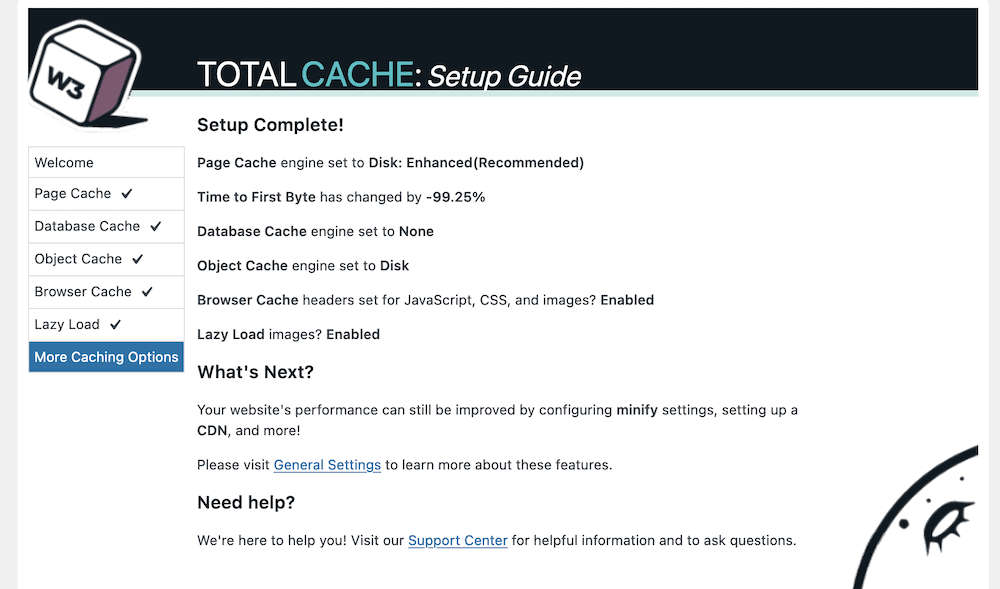
You’ll note a reference to a few extra options that might help your site’s performance. In the next section, we’ll look at some of these.
Step 4. Link Your CDN With W3 Total Cache
If you want to go beyond caching to serve your site across the globe, a CDN should be on your wishlist. This will distribute copies of your site to lots of different servers. Once a visitor accesses your site, the CDN will find the nearest available copy and send it. It’s a fantastic way to boost performance, reduce loading times, and keep your site speed consistent.
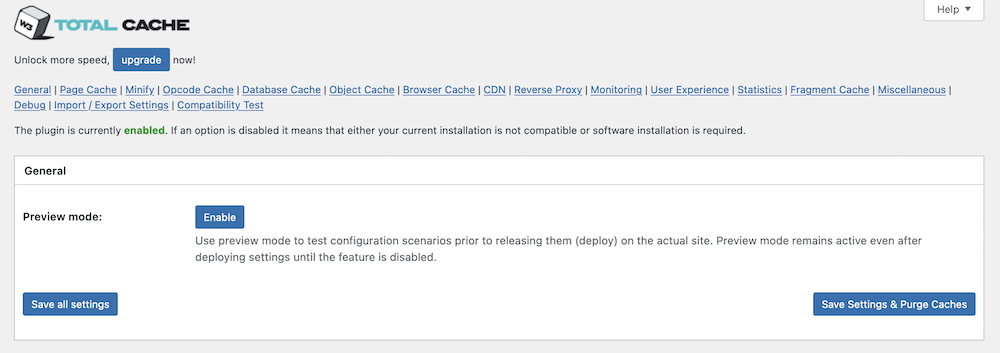
W3 Total Cache can help you with this in almost one click. To do so, head to the Performance > General Settings screen within WordPress. At the top of this page, you’ll spot a number of links to different settings: You’ll want to click CDN:
This will give you a checkbox to enable a CDN and a drop-down menu to choose a CDN type:
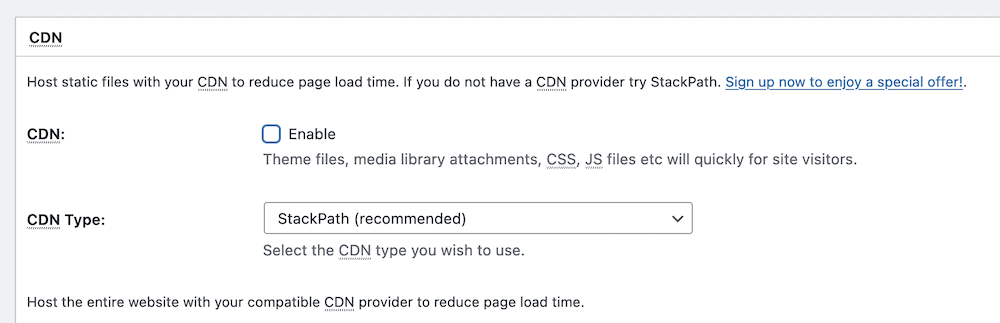
However, these options could deceive you because this doesn’t set up a CDN on your behalf. Each CDN will have its own setup process – for instance, we have a guide on using Stackpath (formerly MaxCDN) and W3 Total Cache together.
You’ll also notice that there are further options for your CDN in a dedicated settings page (Performance > CDN):
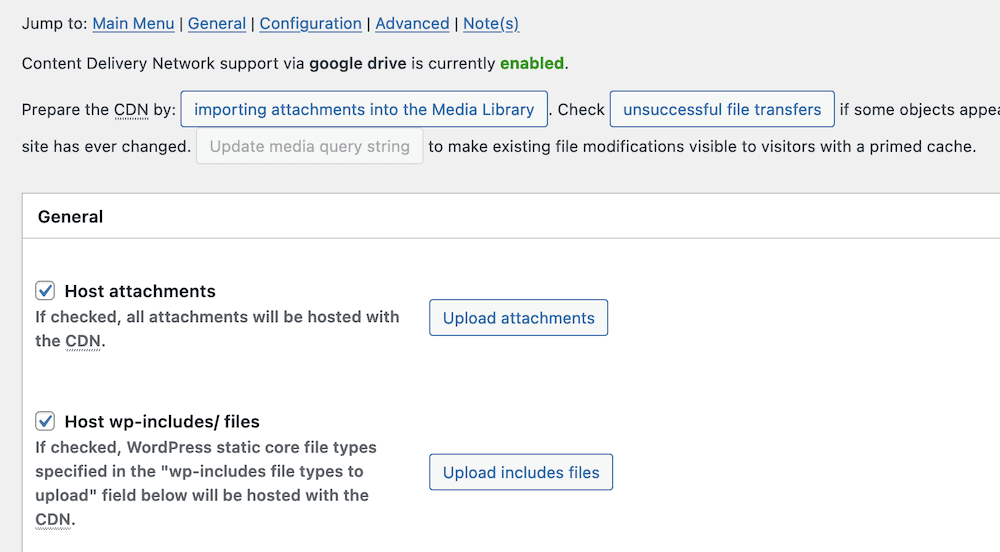
However, these will only apply once you set up a CDN, so you can skip over this page for now until you complete the full setup process and begin using the plugin.
Step 5. Minify Files Using W3 Total Cache
Minfication takes the CSS and JavaScript files of your site and makes them as small as possible. It removes all of the white space from your files. This doesn’t impact its functionality most of the time, but will reduce its file size to something that will load faster.
W3 Total Cache lets you apply this advanced technique to your own files. You’ll start from the Performance > General Settings > Minify screen:
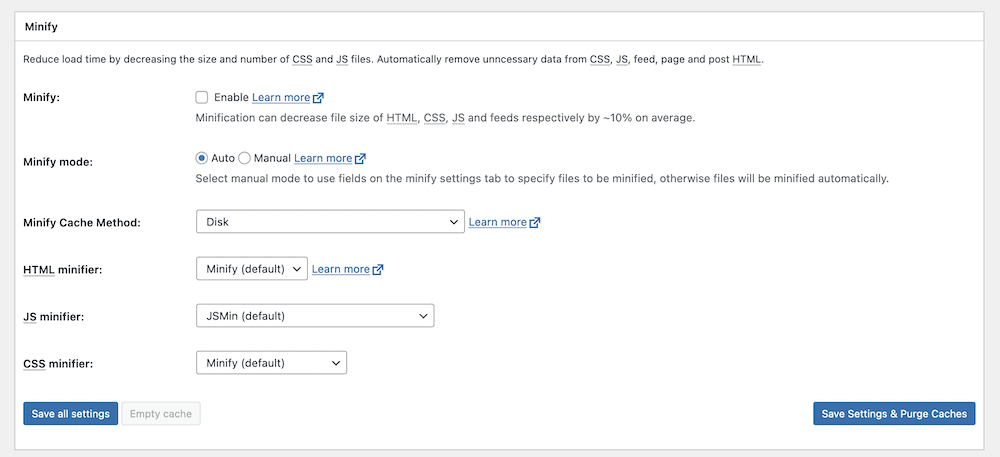
To turn this feature on, you can click the checkbox to enable minification, then save your changes. However, you’ll notice a few other options here. The main one is whether to use Auto or Manual minification. We suggest the Auto option for now, but later on down the line you can switch to Manual.
There are also further options to tweak how W3 Total Cache minifies your files on the Performance > Minify screen. However, these are for power users, and are beyond the scope of this post. The default options are often good enough for your needs, or at least to understand the benefit you’ll get from minifying files.
The Main Issue You’ll Need to Troubleshoot With Any Caching Plugin
In most cases, you’ll setup W3 Total Cache and leave it alone from there. However, you’ll sometimes need to troubleshoot issues with the plugin and with your caching provision.
One of the more common issues relates to your site’s content, in that it might not update for you once you make changes. It’s not a surprise to understand that caching is the fault. This is because the cache presents older content, and to fix this you’ll have to carry out a manual purge.
How to Clear Your Cache
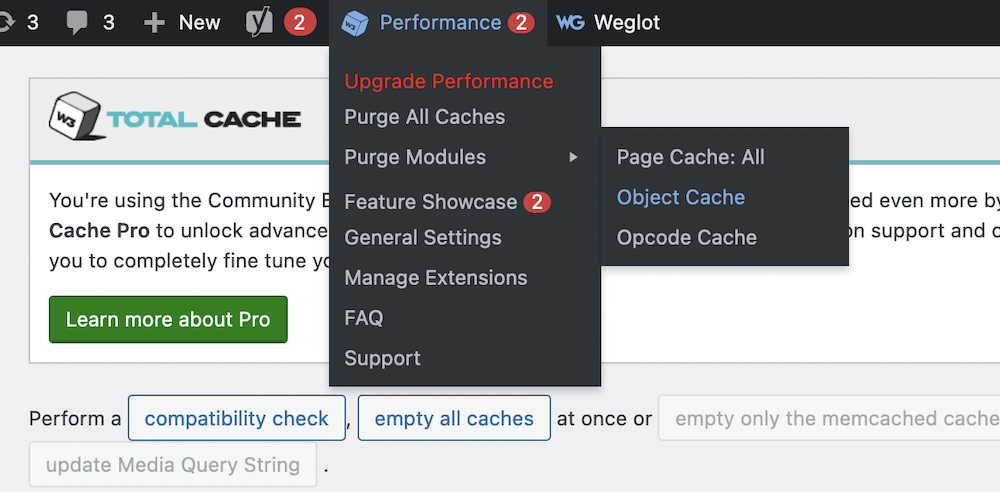
The W3 Total Cache plugin provides a simple way to clear – or purge – the cache. To do this, head to the toolbar in your WordPress dashboard, and hover over the Performance link. This should open up a drop-down menu. Inside, you’ll find the option to Purge All Caches:
You might only want to purge a single cache, in which case you can open up the Purge Modules sub-menu and select your desired cache from there:
From here, check your site, and the content should show the most current versions. If you still continue to have issues, we’d recommend you contact your hosting provider. One advantage of W3 Total Cache is that many hosts will know how to set up a server for it. This means you can let your host know, and it can provide you with tools, settings, and more to optimize the experience.
Wrapping Up
If you want to run a site that performs well everywhere in the world, for all users, implementing caching is a good first step. For a WordPress website, there are plenty of caching plugins available, but each one uses a different set of features and functionality to carry out the job.
The W3 Total Cache plugin is a perennial contender as not only your first caching plugin, but as one of the best too. It lets you implement the technology on your site with ease, and also provides a swathe of options to customize how your site uses the cache. Best of all, the core functionality of the plugin is free.
Do you have any questions about how to setup W3 Total Cache on your website? Ask away in the comments section below!


Leave a Reply