
Every blogger or head of an editorial team knows the key to any well-managed publication is a streamlined workflow.
You may be relying on tools like Trello and Asana to keep track of your team’s editorial workflow, but there’s a powerful plugin available right inside the WordPress repository that can help you get the job done.
It’s name is Edit Flow.
About Edit Flow
Edit Flow is an open-source plugin whose development is led by Daniel Bachhuber, Mo Jangda, Scott Bressler and Automattic. In short, it’s a free editorial plugin that comes with the following features:
- A drag-and-drop editorial calendar.
- The ability for editors and authors to communicate with one another on the Edit Post page.
- The ability to assign custom statuses to posts.
- The ability to attach metadata to individual posts detailing each post’s requirements.
And more!
Let’s learn how to use this plugin.
1. Installing Edit Flow
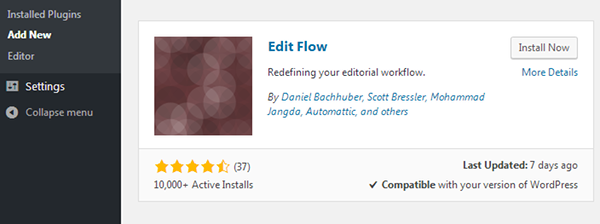
Go the Add New Plugin page in the WordPress admin area of your site, and search for “edit flow.” Click Install Now once you find it, and activate the plugin.
The first thing you’ll notice is the number of items added to the WordPress dashboard and admin panel.
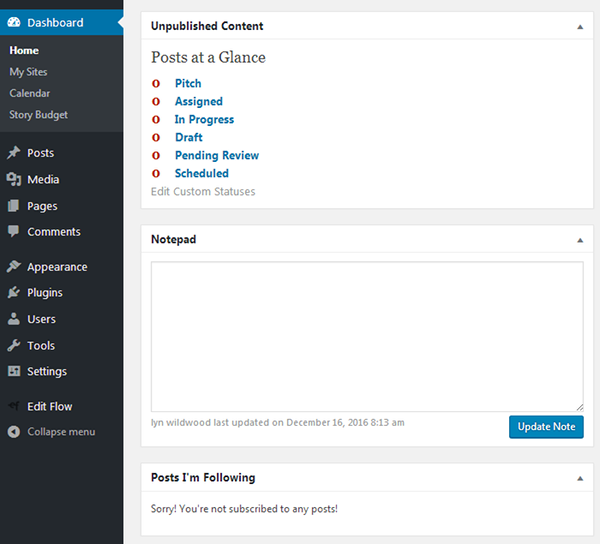
Here’s a quick breakdown of these items:
- Unpublished Content – This box gives you an “at-a-glance” look at the number of posts you and your team have in the works as well as what stage of the editorial workflow they’re currently in.
- Notepad – This screen option allows you to add a quick note to your dashboard. The only downside is the fact that there’s only one note. You can’t add multiple notes to your dashboard.
- Posts I’m Following – This option gives you quick access to the posts you’re following, giving you an easy of accessing all the posts you need to monitor.
- Dashboard > Calendar – This admin panel menu option gives you access to the editorial calendar Edit Flow comes with.
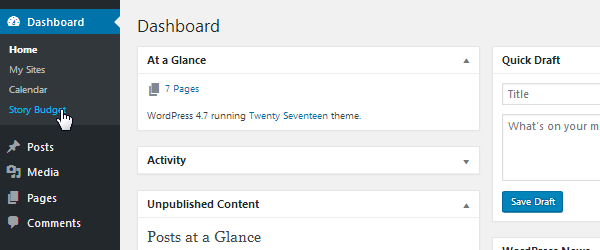
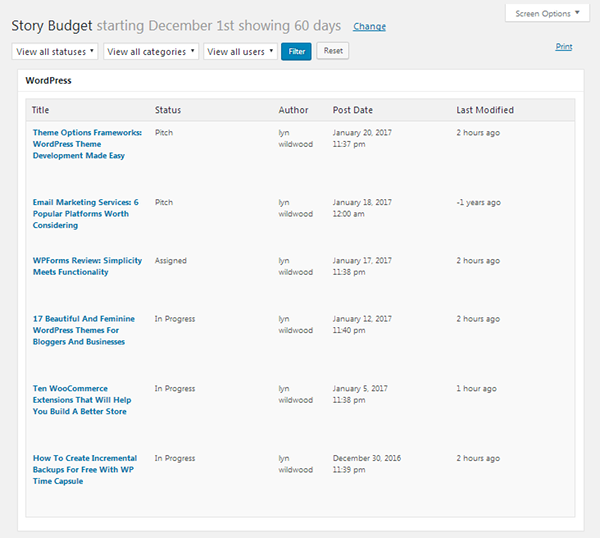
- Dashboard > Story Budget – This menu option leads to a page that gives you a breakdown of each article in your workflow, including details on its status, its author and when it was last worked on. The articles on this page are organized by the WordPress categories you assign posts to.
- Edit Flow – This admin panel menu option gives you access to all of Edit Flow’s features and settings.
2. Managing Statuses
Statuses are what you’ll use to label each post based on where it is in the editorial workflow. Typically, an editorial workflow looks like this:
- Article pitched.
- Article assigned.
- Topic researched by author.
- Article written.
- Article submitted for approval.
- Editing and finishing touches added by editor.
- Article scheduled.
- Article published.
You can assign these statuses when you create new posts or edit current ones:

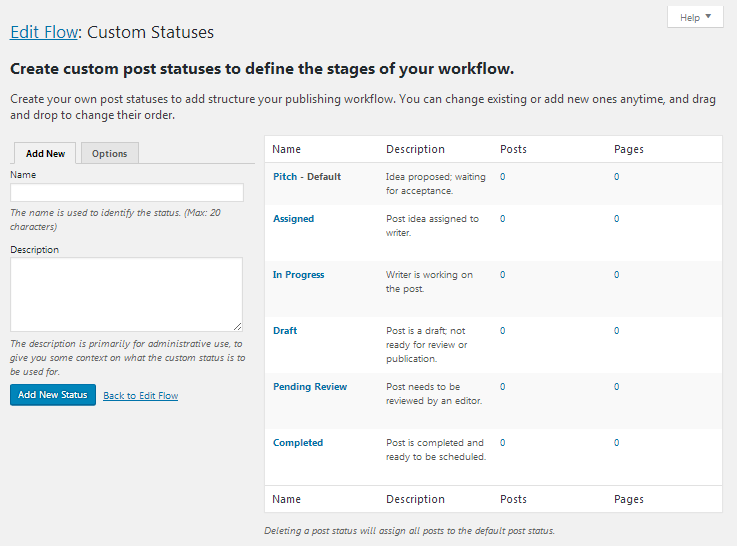
Here are the default statuses Edit Flow is installed with as well as the descriptions they come with by default:
- Pitch – Idea proposed; waiting for acceptance.
- Assigned – Post idea assigned to writer.
- In Progress – Writer is working on post.
- Draft – Post is a draft; not ready for review or publication.
- Pending Review – Post needs to be reviewed by an editor.
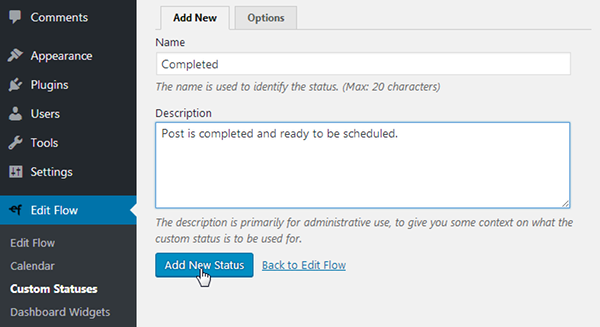
You can add your own statuses to suit your editorial workflow by going to Edit Flow > Custom Statuses. This page looks similar to the Categories and Tags pages in the WordPress admin area. All you need to do is enter a name for your status, give it a description, and click Add New Status.
You can edit or delete the default statuses if they don’t fit your workflow.
Developer Options for Custom Statuses
If you want to limit which statuses appear in the drop-down menu for certain user types, use this filter:
- ef_custom_status_list
3. The Editorial Calendar

The editorial calendar feature gives you a visual representation of what posts you and your team have in the works, what their statuses are, what dates you want them finished by and who is assigned to them.
You’ll only see the post’s title, status and desired publish date at first glance. You can view more information by clicking on it:
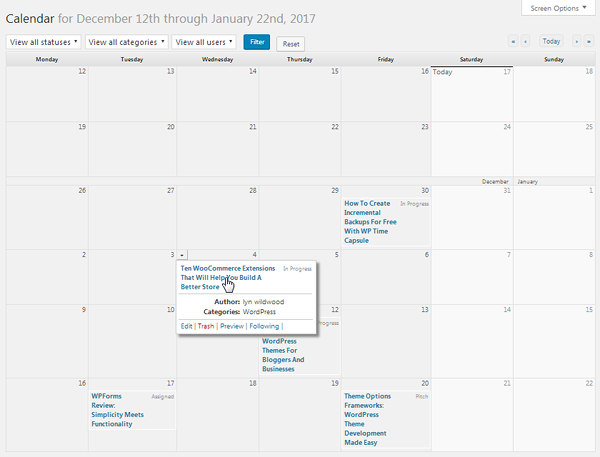
If you look at the bottom of the post card in the image above, you’ll notice a few quick links:
- Edit – Takes you to the Edit Post page for that particular post.
- Trash – Sends the post to the trash bin.
- Preview – Takes you to the frontend to preview the post.
- Following – I’m currently following these posts. If I click the Following button, I’ll “unfollow” that post. Similarly, you can use the same link to follow posts you aren’t following.
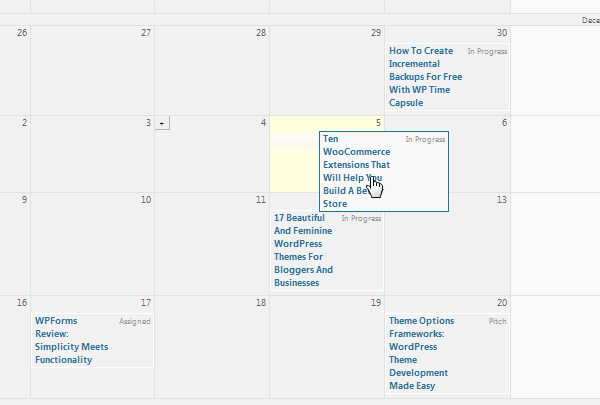
You can drag and drop posts wherever you need them to be so long as they aren’t published, yet.
If you click on a date in the calendar, a “+” symbol will appear in the upper, left-hand corner.
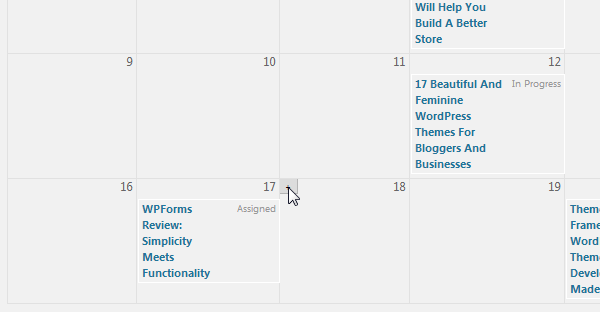
When you click on it, you’ll access a tiny screen that allows you to schedule a post for that date.
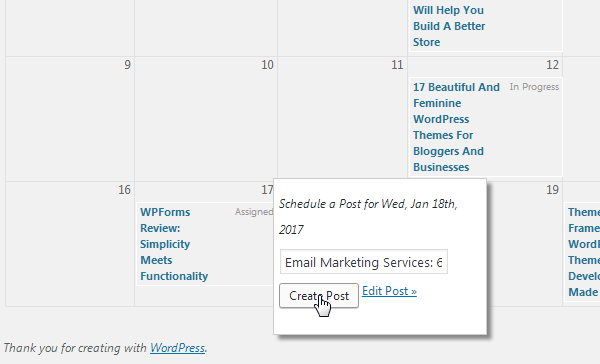
Edit Flow will assign the default status to it, which is Pitch if you didn’t choose a different one when you were adding your own statuses.
You’ll view 6 full weeks by default, but you can change this using the Screen Options menu.
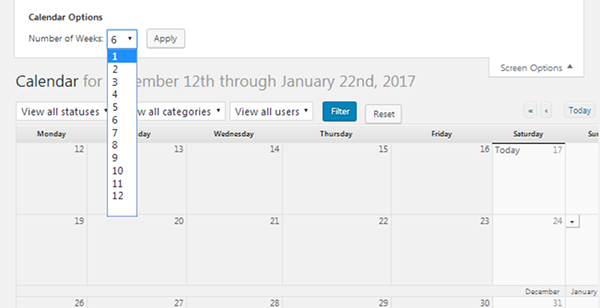
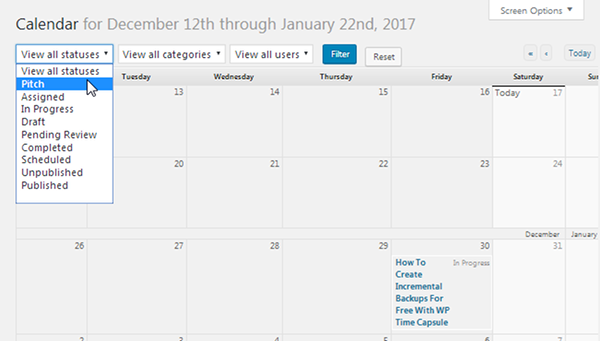
You can also filter which posts you see based on status, category and author.
Developer Options for the Calendar
Developers can add or remove a number of different features from the calendar using WordPress’ built-in hooks and filters.
- ef_view_calendar_cap – This filter allows you to modify which user types can view the calendar. Admins, editors, authors and contributors can view the calendar by default.
- ef_calendar_allow_ajax_to_set_timestamp – This filter allows you to choose whether or not dragging an unpublished post to a different date changes the publication date. It doesn’t by default, but you can turn this feature on by adding this snippet to your functions.php file:
- add_filter( ‘ef_calendar_allow_ajax_to_set_timestamp’, ‘__return_true’ );
- ef_calendar_total_weeks – You can use this filter to lock the calendar to a specific range.
- ef_calendar_weekend_days – This filter allows you to select which days the calendar considers the weekend. These days are Saturday and Sunday by default.
- ef_calendar_item_information_fields – These are the details that appear when you click on a post in the calendar. We discussed which ones are shown above, and you can remove some or add your own using this filter.
- ef_show_scheduled_as_unpublished – The calendar doesn’t show scheduled posts when you choose Unpublished as a filter when viewing the calendar. This filter allows you to include scheduled posts in this view.
Upcoming Posts in Story Budget View
If you want to view which posts you have in the works in a more list-oriented style, hover over Dashboard, and select Story Budget.
This view is organized by categories. It uses the categories you’ve created in WordPress and assigned to posts.
4. Managing Assignments with Editorial Metadata
Providing enough details to team members as possible is the key to acquiring a good workflow among an editorial team. This is the purpose editorial metadata serves.
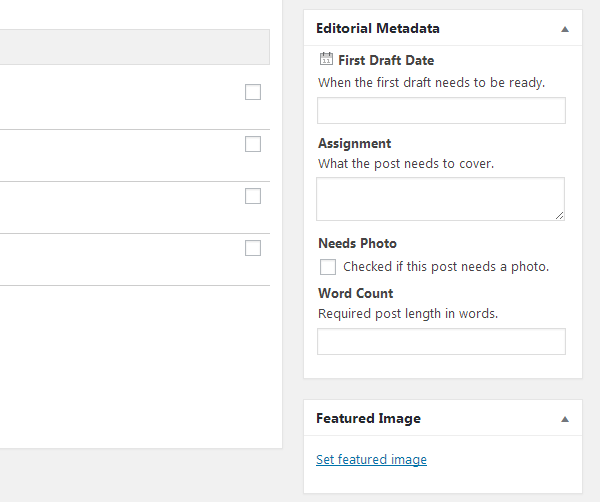
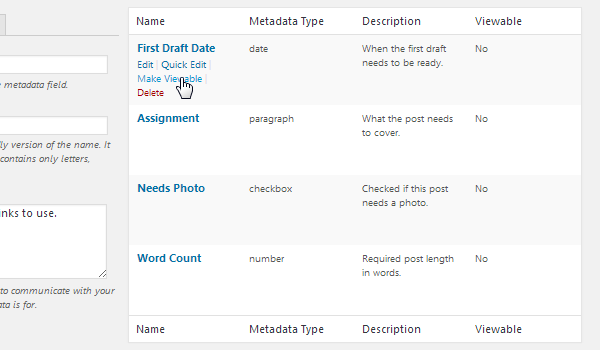
You’ll see this box in the right-hand sidebar of the Edit Post page. Here are the default fields:
- First Draft Date – The date and time the post, or at least the first draft of it, needs to be completed by.
- Assignment – A textbox you can use to give detailed information on what the post needs to cover.
- Needs Photo – You can use this option to let the writer know whether or not they’ll be required to create a featured image for the post.
- Word Count – The minimum and/or maximum amount of words required for the post.
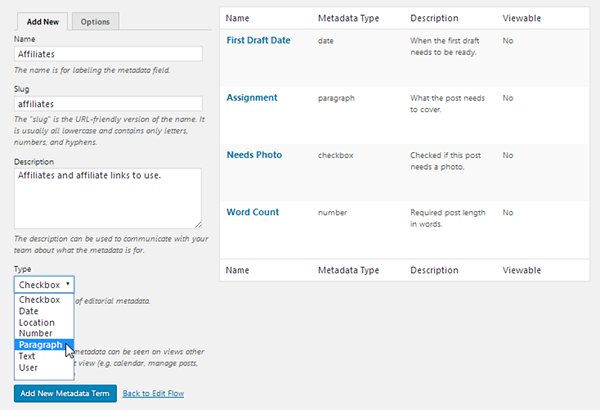
You can customize what appears in this box by hovering over Edit Flow in the admin panel and selecting Editorial Metadata.

This allows you to add a new editorial metadata term by giving it a name, a description and selecting which metadata type it should have.
You can delete the default metadata terms if you don’t need them. You can also make metadata terms viewable by selecting yes while you create the term…
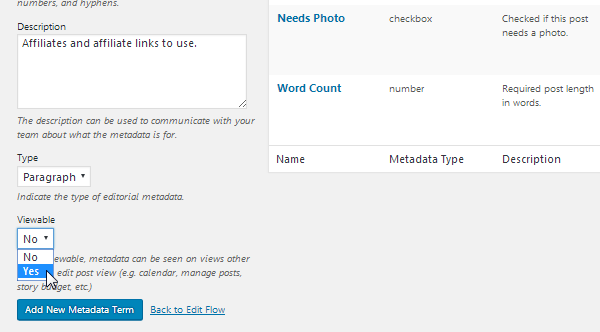
… or by clicking Make Viewable on terms already created.
This makes these individual metadata terms viewable in the calendar, on the All Posts page, on the Story Budget page and anywhere else posts are displayed. Keep in mind any terms you make viewable will be viewable by other members of your team. Terms that are hidden can only be seen by the editor and author assigned to teach post.
5. Editorial Comments
An Editorial Comments box is added to the main section of the Edit Post page, underneath the editor.
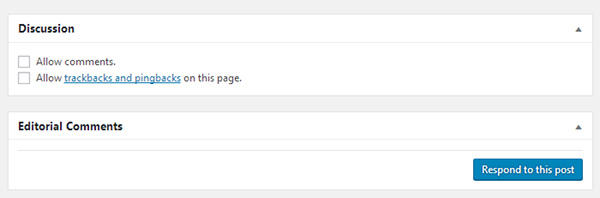
You can click the Respond to This Post button when you need to add a comment to the post.
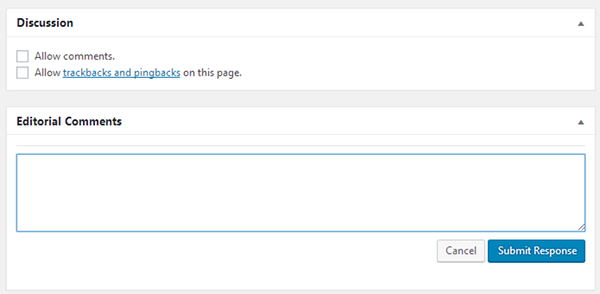
This allows editors and authors to converse with one another to ensure everyone is on the same page and that posts are as high of quality as they can possibly be. This also allows you to cut back on emailing and keep post-related comments where they belong – in the same location as the post!
6. User Groups
User groups give you a way to organize your team based on their titles and/or skillsets. Here are the default user groups:
- Copy Editors – These are general editors. They edit each piece of content and ensure every post’s quality is as high as it can be.
- Photographers – Self-explanatory. You may want to delete this user group if your site doesn’t use dedicated photographers, at least not to the extent of needing an entire user group dedicated to them.
- Reporters – Another self-explanatory user group. This one is meant for traditional media sites. You can delete it or edit it to reflect a blog, such as by simply renaming it to Writers or Bloggers.
- Section Editors – These are different editors than copy editors. These editors manage entire sections, approve topics, give feedback and provide direction for the entire site.
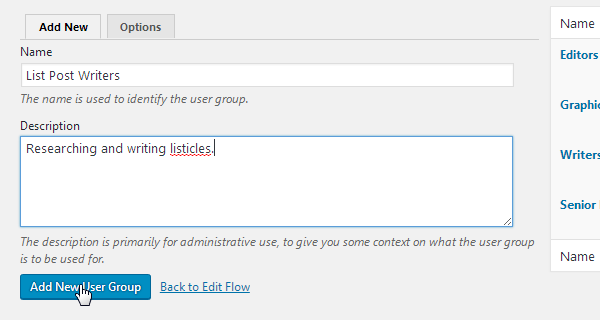
The default user groups are more geared toward traditional publications, as you can see. You can spend a bit of time deleting or editing the current ones to suit your own site. Here’s what I came up with in a minute of editing the default user groups:
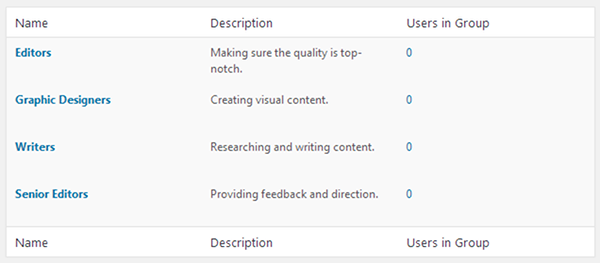
You can also add any new user groups you need:
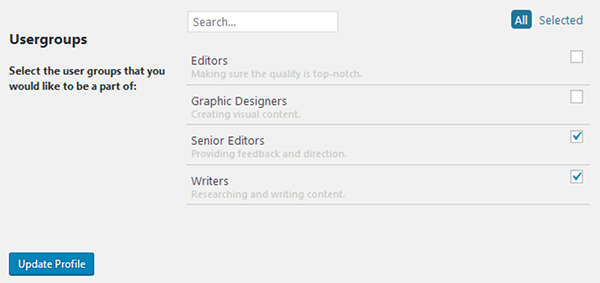
You can assign user groups to individual users on each user’s User Profile page. Users can be assigned to multiple user groups.
7. Notifications
Anyone who’s assigned or following a post receives an email notification whenever a post is updated or an editorial comment is left on it. You can control who receives notifications for a post on the Edit Post page. The box for it is located underneath the Editorial Comments box.
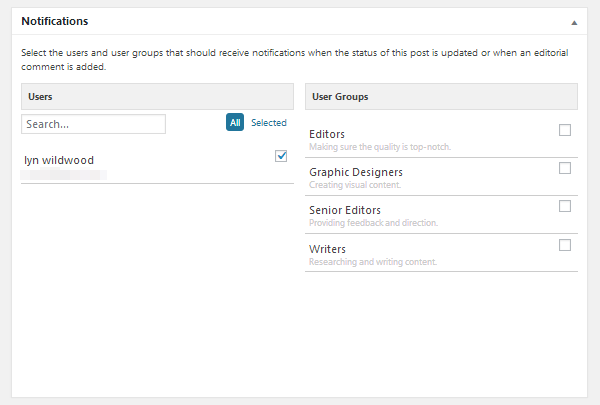
Tick each box associated with every user you feel should receive updates for a post, and tick each box associated with every user group you feel should receive updates for a post.
Typically, only the editor and author assigned to a post should receive updates for it. Senior editors or admins may also wish to be notified so they can keep a closer eye on the workflow for the entire site.
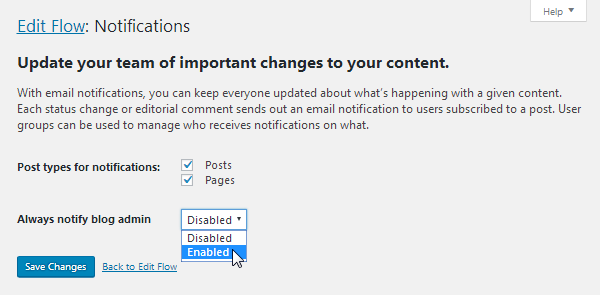
You can navigate to Edit Flow > Notifications to enable an option that ensures admins always receive notifications whenever a post is updated or an editorial comment is submitted.
Developer Options for Notifications
Developers can modify the way notifications are handled using WordPress’ built-in hooks and filters.
- ef_edit_post_subscriptions_cap – This filter lets you choose which user types have the ability to decide which users and user groups subscribe to posts.
- ef_notification_auto_subscribe_current_user – Any user who edits a post or leaves an editorial comment on one gets auto-subscribed to that post. This filter lets you disable this option.
- ef_notification_status_change – This filter allows you to disable notifications for specific status types or all status types.
- ef_notification_ignored_statuses – This filter performs the same action as the previous filter.
- ef_notification_editorial_comment – This filter disables notifications for editorial comments.
- ef_notification_recipients – This filter allows you to select who receives notifications. Anyone who’s subscribed to a post receives notifications by default.
8. Extending Edit Flow Even Further
Developers can extend Edit Flow even further using a few guides the developers of the plugin have published. These include:
- A guide on how to auto-subscribe user groups for notifications.
- A guide on how to hide empty boxes on the Story Budget page.
- A guide on how to hide the Publish button for certain statuses.
- A guide on how to dictate which user types have the ability to drag-and-drop posts on the calendar.
And others. You can access these guides as well as the code snippets for them on the Extend page of the plugin’s official website. You can also contribute by writing code for the plugin and helping other Edit Flow users. Learn more on the Contribute page.
Final Thoughts
Edit Flow is a powerful plugin every owner of a content-heavy WordPress site needs to look into. It can streamline the process of managing your editorial calendar, especially if you work with a larger team.
I would say the only thing missing from this plugin are colour options for different statuses, users and user groups as well as a way to schedule social media posts. Check out our list of the Best WordPress Plugins to Automate Social Media Marketing if you’re interested in doing that.
If you’re interested in learning more about managing your editorial team, check out our guide on Working with Multiple Authors in WordPress.


Leave a Reply