Building an international audience is going to take more than hoping people from around the world visit your site and subscribe or buy. In fact, many global consumers (55% to be exact) prefer to buy in their native language and stick to the motto, “Can’t Read, Won’t Buy.”
That’s why translating your WordPress website into other languages is a great way to reach a broader audience.
But more than that, translating your site’s content helps puts people speaking different native languages at ease as they navigate your site and decide whether to convert as a paying customer or not.
But how are you supposed to translate your site’s content into languages you don’t speak?
Well today we’re going to share with you an easy way to automatically translate WordPress using Weglot.
What is Weglot?
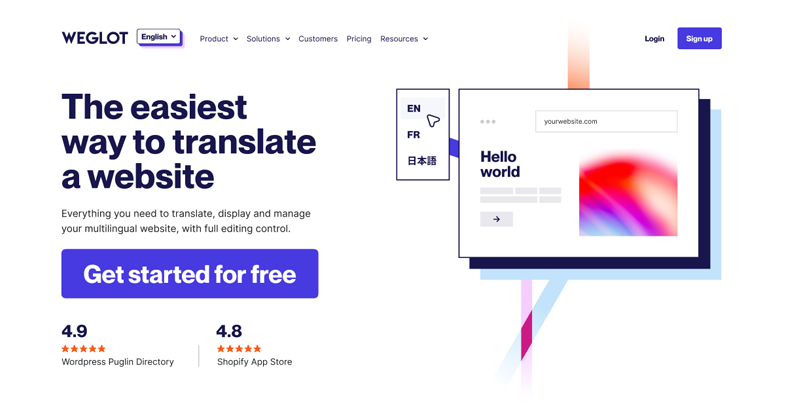
Weglot is a translation plugin for WordPress that integrates seamlessly with your website, is compatible with all WordPress themes and plugins, and has a simple interface for those that want quick and easy translations of their website.
Once installed and activated, Weglot automatically detects your site’s content (including invisible elements) and translates it into the language you choose. From there, you can manage your site’s translations in the Weglot Dashboard (you do need a Weglot account) or using the Visual Editor, so you can make manual translation edits if needed to fully localize your website.
Weglot also comes with these powerful features:
- Quick installation so you can translate content right away
- Collaboration with team members on translations inside the Weglot dashboard
- Over 100+ languages to choose from
- Full multilingual SEO optimization
- Automatically delivery of content to visitors in their preferred language based on their browser settings
- Preview of translated content before its pushed live
- Access to professional translators if you need more help
Now that you know a little about what Weglot can do for you and your global audience, let’s see how it can help you translate WordPress.
Step 1: Install and Activate Weglot
The first thing you’ll need to do is install and activate Weglot on your WordPress website. To do this, go to Plugins > Add New and search Weglot.
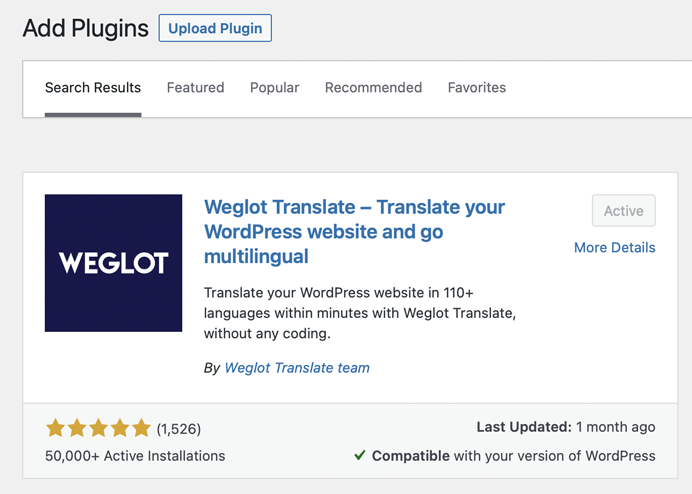
Click Install Now and Activate. Weglot is now installed and you’re ready to move on to the next step.
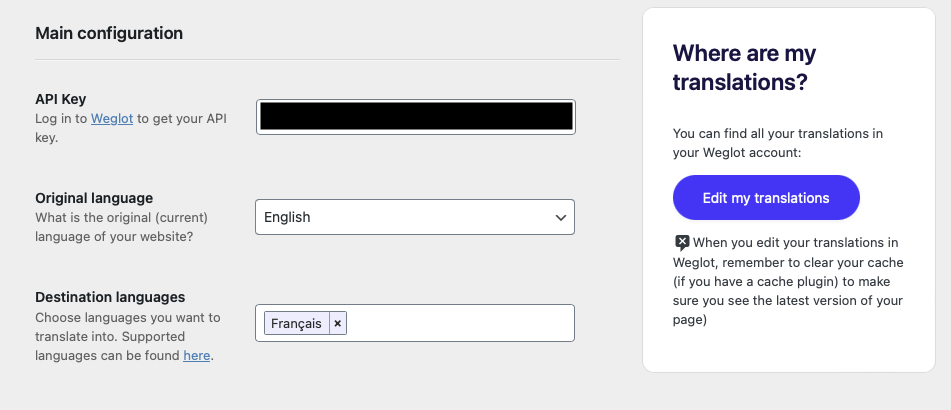
Step 2: Configure the API Key
Once you install Weglot, click on the menu item labeled Weglot in your WordPress dashboard. You’ll see a request for your API Key, the original language of your website, and a box for you to enter the languages you wish to translate your site into.
To get the API Key, go to Weglot’s official website and sign up for an account.
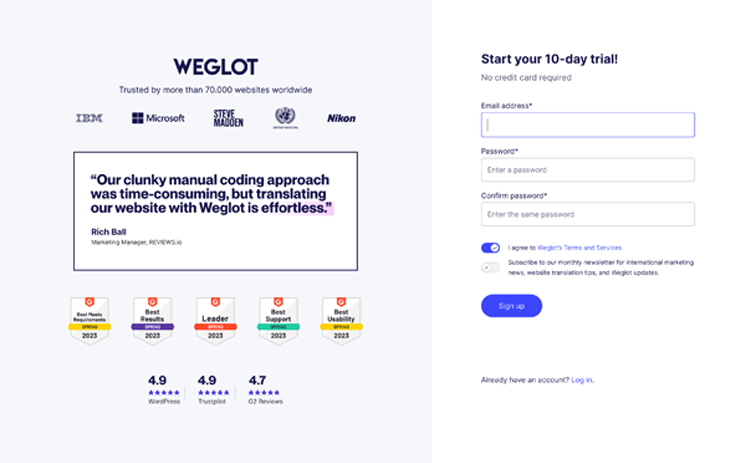
Once inside your account, you’ll see the API Key needed to configure the plugin on your website. Copy it so you can paste it in the backend of your WordPress site.
Go back into your WordPress dashboard and paste the API Key in the first field.
Step 3: Choose Your Languages
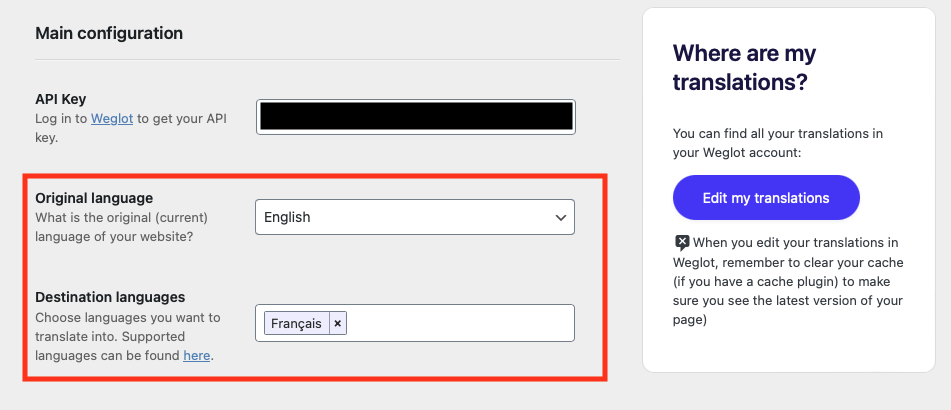
Below the API Key form field, you’ll see two more form fields: one for the original language of your site (in other words, the language it’s set to right now) and the Destination Languages (the languages you want to translate your site into).
To start, select the language your site is currently in. For our example, we’ll select English. Next, choose the language(s) you want to translate your site into. For our example, we’ll choose French.
Click Save Changes.
Step 4: Customize the Language Button
On the success message that displays, you’ll have the option to either check out your site’s homepage or customize the language button. To customize the language button, simply close the modal popup.
You’ll now see the settings that relate to your language button, as well as some other miscellaneous plugin settings. The first setting is for the design of your language button.

Here are the settings available:
- Preview of the language button
- Dropdown box when switching languages on the frontend of your site
- Include language flags
- Type of flags: rectangle mat (matte), rectangle shiny, square, circle
- Display name of languages
- Full language name
- Custom CSS
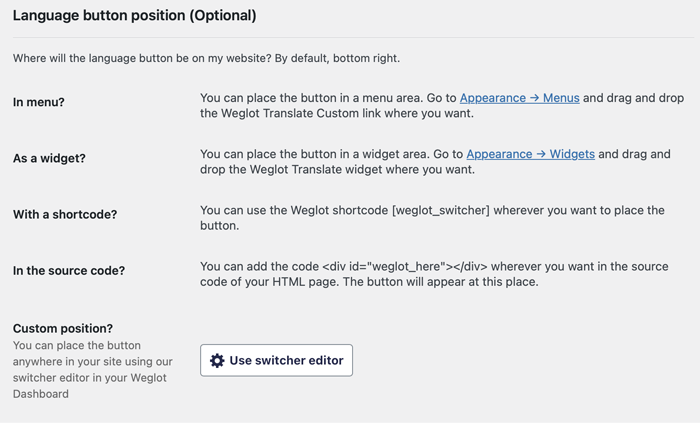
Step 5: Customize the Button Position
The next setting you can customize is the position of the language button. By default, the language switcher will be located in the bottom right hand corner of your website.
You have the option to change its position by following the instructions in this settings section.
Step 6: Configure Other Weglot Settings
By default, Weglot translates every webpage on your WordPress website. If you want, you can exclude parts or full pages by adding the URLs or Exclusion Blocks here.
You can also configure the last bit of settings in the Weglot translation plugin:
- Redirect users based on their browser language
- Translate emails
- Translate AMP page
- Allow users to search in the language they prefer
- Restrict translated content to admin users
When all the settings are the way you want them to be, click Save Changes.
Step 7: View WordPress Translations
After configuring the Weglot settings, you can preview your website and see the translated content.
Go to View Website in the WordPress dashboard, find the language switcher, and select a new language.
You’ll see all your site content has been automatically translated into the language of your choice. Remember, we chose French. Here’s how the our site displays for site visitors that prefer French:
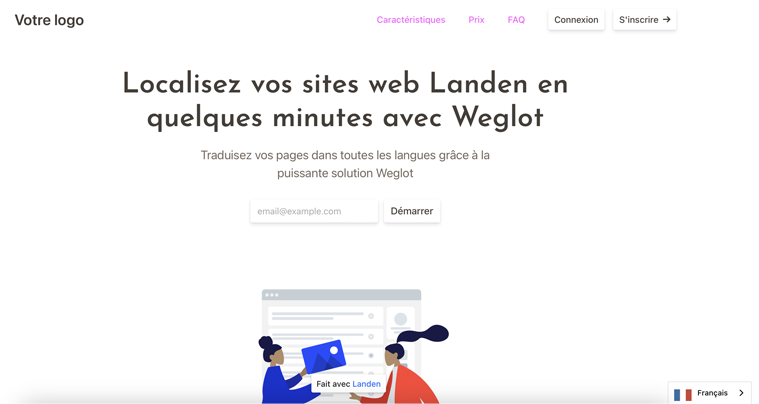
You’ll see that everything on your webpage has been translated. There’s even a French URL, which means your SEO is protected and the translated version of your website will show up in the right search results, allowing you to build your global audience.
Step 8: Manage Your Translations
Weglot makes managing your site translations easy. After all, automatic translations are bound to turn up a few errors here and there. If you discover an error, you can manually edit it in your Weglot account.
Log into your Weglot account to get an immediate overview of your site translations: the plan you’re using, the total amount of words translated so far, your activity, the number of projects you have, the number of users in your plan, and so on.
You can edit your translations in two ways:
- Visual Editor: visually click on elements on your site and edit them right there.
- Translations List: edit the searchable .po file.
The Visual Editor
The Visual Editor has a simple interface and allows for easy editing of site translations. Click on Start Editing.
You’ll see at the bottom of the screen the URL for website you are wanting edit. Make sure you are on the right webpage to make things easier on yourself.
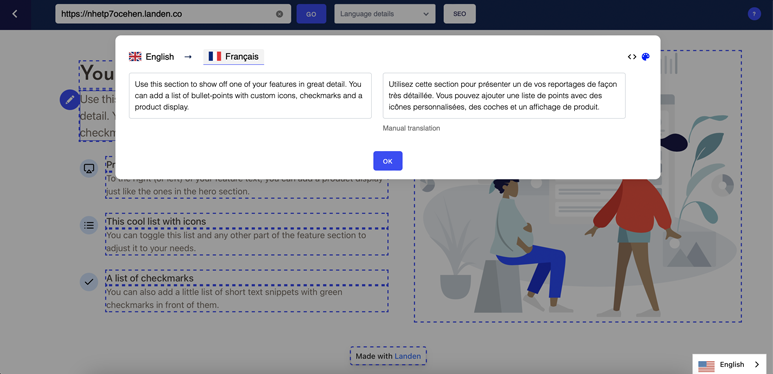
These changes will automatically appear on the frontend of your website.
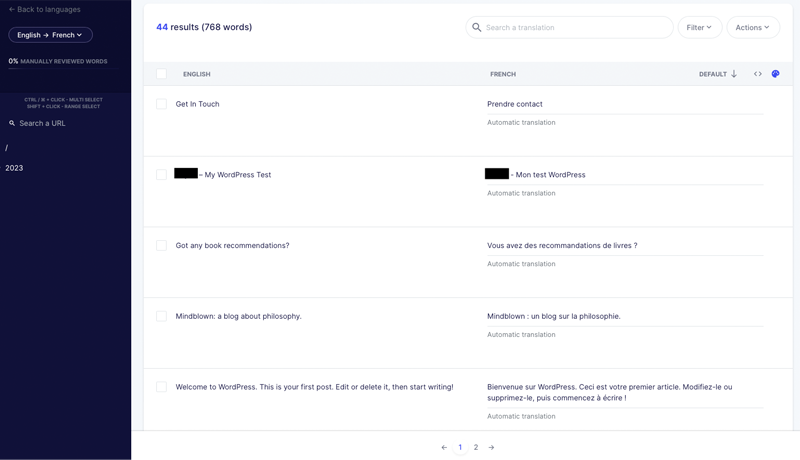
List of Translations
If you prefer to use the list of translations, click on Languages under Translations List and select a language pair.
To make an edit, click on the line of text you want to change and correct the translation.
Final Thoughts
And there you have it! You now know how to translate WordPress using Weglot.
Translating your site’s content may seem impossible, especially if you only know one language. Luckily, with the automatic machine translations Weglot provides, reaching an international audience is easier than ever.
If you run a resort or hotel in a local hotspot that tourists love to visit, make sure to translate your site’s content so everyone can book a reservation, no matter what language they speak. And be sure to check out our roundup of the top hotel and resort WordPress themes in the market.
If you want to see other translation options that are available beyond Weglot, we have a list of the best WordPress translation plugins so you can choose which solution works best for your needs.
Have you ever translated WordPress using the Weglot translation plugin? Is there another solution you prefer? We would love to hear all about it in the comments below!


Great tutorial ! Love it when people attach screenshots to explain the process, always helps. Thanks for the guide.
Awesome tutorial . I love the way of explanation. Thank you for the guide.