Ever wondered how bloggers create such cool featured images for their posts? Maybe you’re looking to do the same, but think you need to be a graphic design superstar to create gorgeous blog images.
Here’s what I know:
You don’t need a lick of design skill to create awesome featured images for your blog posts.
Here’s how I know that:
Because on a good day, I’m what you might call a “design super-fail”. And yet, when I put my mind to it, I’m still capable enough to create aesthetic blog images.
When you finish reading this tutorial, you’ll be able to quickly create something like this:

How? Let’s start at the beginning…
Step 1: Choose Your Design Tool
If you think I’m about to give you a tutorial on Photoshop, you’re in for a letdown. I understand the concept of layers, but that’s about where my Photoshop skills run into a brick wall.
No, we’re going to do this using a design tool called Canva. It’s simple, free, and based entirely in the cloud.
To get started, just head on over to Canva and sign up for an account.
Step 2: Create a Blank Canvas
Once you’ve signed up, you can get started by creating a blank canvas. This canvas is where you’ll add your text, backgrounds, and other elements to create a final product. It’s the base and each new element is a separate layer added on top.
For canvas dimensions, Canva includes a number of preset options. Out of all these options, I recommend this one:
Facebook Ad – 1200 x 628 px
I know…it might seem a bit counter-intuitive given this tutorial is not about creating Facebook ads. But it’s my favorite layout size because, in addition to fitting most blog layouts, it looks absolutely perfect whenever people share your content on social networks (like…Facebook!).
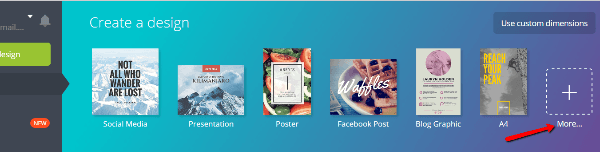
To find it, click on the More option under Create a Design:
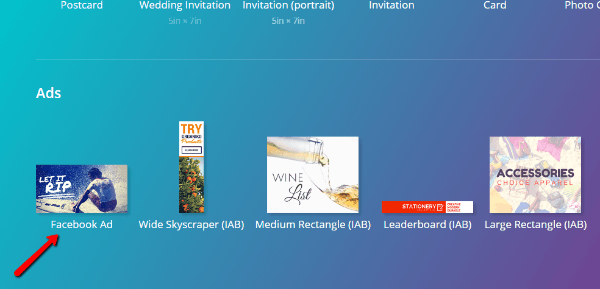
Then scroll all the way to the bottom and look for the Ads category:
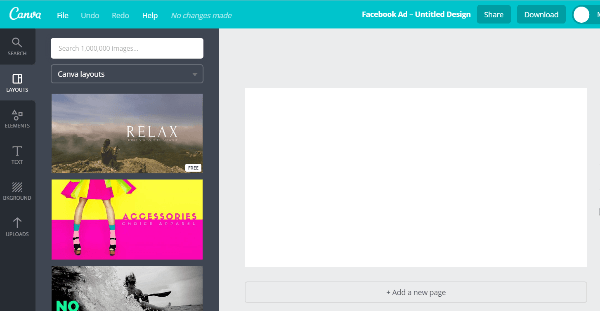
Once you click it, you should have a blank canvas like this:
Of course, if your WordPress theme uses unique dimensions for featured images, you might want to create a canvas with custom dimensions, instead. You can use your judgment here.
Step 3: Pick a Background
You have a few choices for your background:
- Image
- Solid color
- Pattern
If you decide to go with an image, you can either use one of Canva’s stock photos (they typically cost $1 each) or upload your own image.
I always opt to upload my own image. But here’s something you absolutely need to pay attention to:
You can’t just upload any image you find on the Internet. That puts you at serious risk of violating copyright law.
Instead, you can only upload images which you have the rights to use. Now you’re probably asking, “where can I find those images?”.
At one of these sites. All the images on the below sites are available for free and can be used commercially without any attribution needed:
- Pixabay – good for all-purpose images and easy to search, but not all images are good quality.
- Unsplash – beautiful high-resolution photos. Mostly landscapes. Good for generic backgrounds, but not great if you need a specific background.
There are plenty of other quality free stock photo sites. But between Pixabay and Unsplash, you can usually find what you need without needing to wade through sixteen different sites.
Once you choose your background image, upload it to Canva:
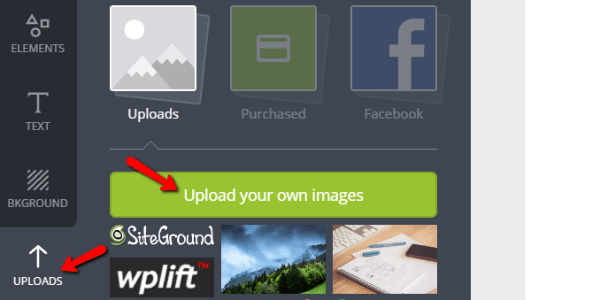
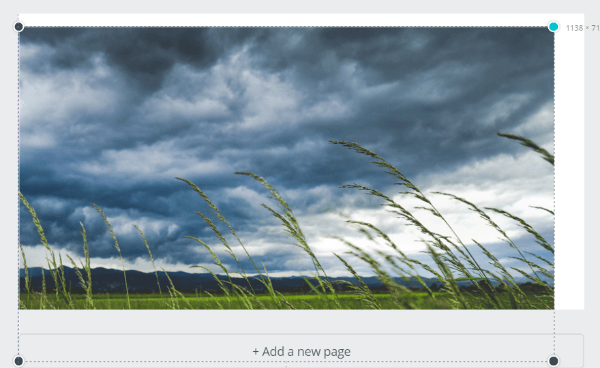
Then drag it over to your canvas. If the dimensions don’t quite match up, you can move it around and Canva will automatically crop it to your canvas’ dimensions.
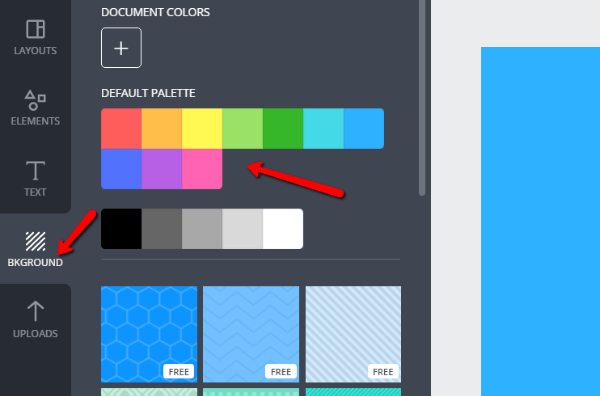
Alternatively, you can create a solid color background by going to Backgrounds and choosing the color you want:
You may have noticed WPKube typically uses solid color backgrounds. I think they’re a great minimalist choice. But because I want to push Canva to the limits, I’ll continue this tutorial using an uploaded background image from Unsplash.
Step 4: Add Your Text
If you want to add text, that’s what you should tackle next. Text isn’t necessary (you’ve probably noticed WPKube doesn’t use text, either), but it is a common approach. I’ll cover how to add icons and vectors in the next section.
If you used a background image, you’ll need to create a transparent overlay so that people can actually read your text. Otherwise, there usually won’t be enough color contrast for people to easily see the text on your image.
To do that, go to Elements → Shapes and choose your desired shape:

Ok, I know that’s ugly. Just bear with me…
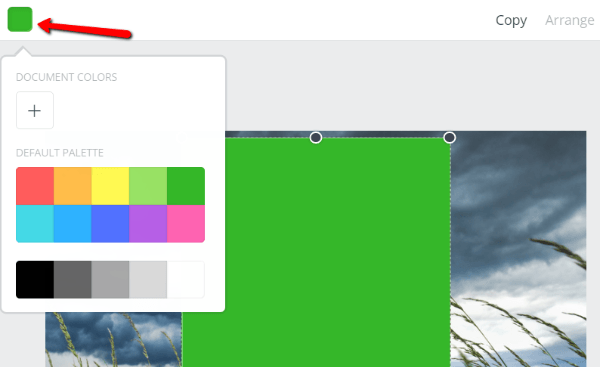
Next, pick a color for your shape. Let’s go with a nice green:
And now for the final touch, you need to make the shape transparent:

I think 70% is a good starting point. You can adjust the number up or down as needed.
You can also resize your shape to get the perfect fit.
Then, you’re ready to head to the Text tab and add your text:
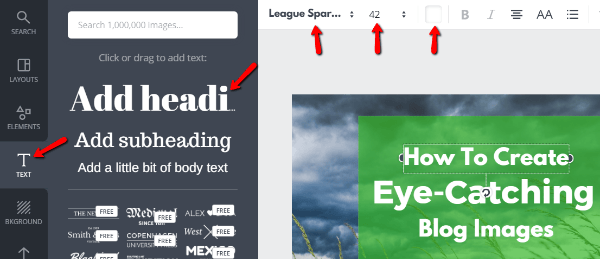
You can drag over pre-made font pairings or create your own. At the top of the editor, you can choose fonts, sizes, font colors, and more.
I like to play around with different fonts to find a combination that stands out. But if you want pre-made combinations, Font Pair can give you some good ideas.
Step 5: Add Elements or Logos
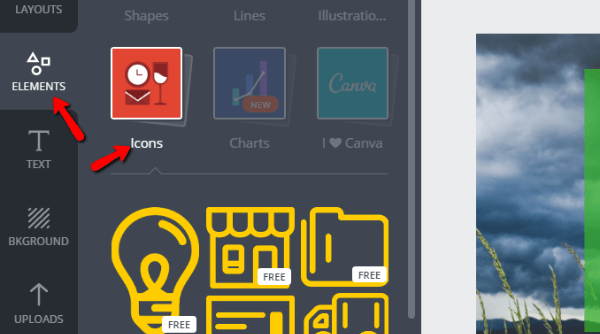
Next, you can add some additional elements. Canva includes a number of free vector icons you can use. Or, you can always upload your own logo if you want to brand your images.
To browse all the available icons, go to Elements → Icons:
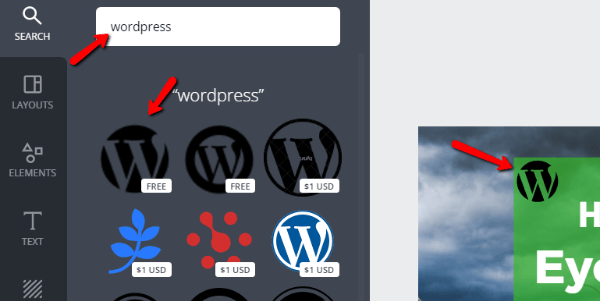
You can also search for specific icons. For example, searching for WordPress gives you a free WordPress logo vector that you can use:
Once you’re happy with how things look, you’re finished!
Step 6: Download Your Blog Image
All done! Now you just need to download your work to use it on WordPress. Click the Download button at the top of the page and choose the PNG option:
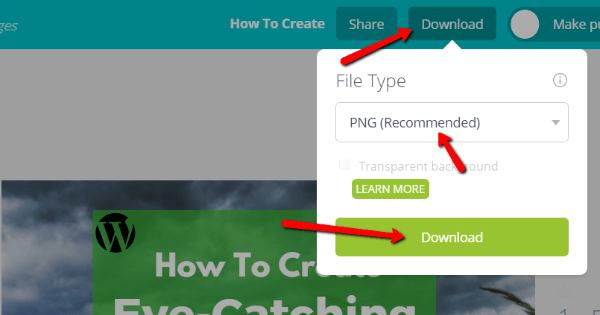
Once you click the second Download button, the download should automatically begin.
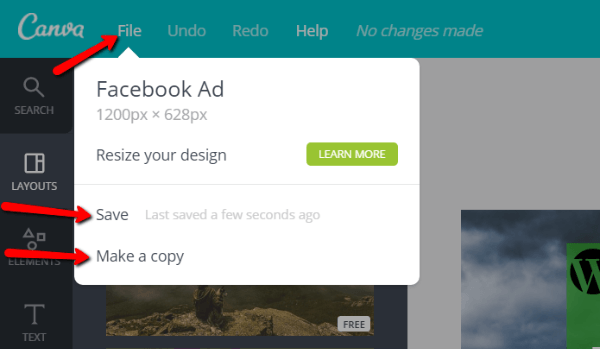
Save a Template for the Future
Your image is all finished. But I’m going to give you one last tip…
If you’re using these images as featured images for your blog posts, you should use a consistent style. That way, you can develop a recognizable brand. Whenever your blog posts get shared on Facebook or Twitter, readers can instantly recognize your website just from the styling on your featured images.
To save you some time and ensure consistent branding, you can save your image layout. Then, whenever you want to create a new blog image, you can just make a copy of your existing layout and change a few details:
Other Options to Create Blog Images
While Canva is the major player, it’s not the only tool for beginners to create beautiful images. If you’re looking for something different, you should give these tools a look:
- Stencil – more focused on social media and helping marketers quickly create images.
- DesignBold – a relative newcomer with similar features to Canva.
- Piktochart – better suited for creating infographics and charts.
- Pablo from Buffer – helps you quickly create very basic quote images. Few features, but simple and fast.
Personally, I find myself switching between tools depending on the exact task that I need to accomplish.
Wrapping Things Up
I hope I’ve made you more confident that you can create gorgeous blog images. Tools like Canva make the process absurdly easy. Design is truly being democratized (don’t hurt me, graphic designers! I still recognize the need for your talents).
But there’s one more thing to consider before you call it quits. You’ll still need to optimize your image’s file size. Depending on your theme, you might also want to resize your image to better fit your site. And finally, if you want to rank your blog images in Google, you should always follow image SEO best practices.
Now it’s your turn – what tool do you use to create images for your blog? Have you tried Canva, or do you prefer something else?


Thanks for sharing such an amazing tutorial. its helps every bloggers.