Developing your website is always a landmark moment, especially when it’s your first time. However, despite almost every host offering a way to spin up a WordPress install on your server, this isn’t recommended.
The better way is to create a site on your computer, and upload it once you’re ready. Using a tool such as Varying Vagrant Vagrants (VVV) for WordPress development is a great, platform-recommended way to do it.
In this article, we’ll show you how to get up and running with VVV. Before this, we’ll also talk about the alternatives at your disposal. First, lets discuss why you shouldn’t develop your site online.
Why You’d Want to Create Local WordPress Sites
Your host often becomes a go-to resource or point of support when creating a WordPress website (especially your first one). This is because your host should know better than anyone how to best install and work with the site creation packages it offers.
However, there are a few reasons why developing a WordPress website on a live server isn’t the best way to proceed:
- You’re using your site’s resources when it’s not necessary.
- Despite potentially having access to staging or site-restriction functionality, you’re still developing your site ‘in public’.
- Any development bugs could affect all of the sites on your network, causing chaos if the worst happens.
- There are organic security issues with developing your site on a live server, because your website will naturally be incomplete for large periods of time.
There are plenty of knock-on effects too, such as feeling like you’re against the clock with regards to getting your site live. As such, going offline and giving yourself a ‘walled sandbox’ environment to develop your site is easier on the wallet and the nerves.
Local Website Development: The Basics You Need to Know
Local website development generally involves using a ‘stack’ of software to emulate a live server as well as possible. Traditionally, sites would be developed on a ‘LAMP’ stack, using software commonly found on live servers:
- The Linux Operating System (OS).
- The Apache HTTP server.
- A Relational Database Management System (RDBMS) such as MySQL or MariaDB.
- A server-side programming language such as PHP, Perl, or Python.
Combined, this turns your computer into a local server, letting you create and test your site in full in a similar environment to your live server.
However, a traditional LAMP stack has drawbacks: It can be a resource-hog, and it’s not the best solution for consistent remote development.
Tools such as Vagrant were designed to provide lean and portable virtual development environments. Combined with a solution such as VirtualBox or VMware, they let you create ‘virtual machines’ – encapsulated servers that are essentially fully-functional computers to work inside of.
Introducing Varying Vagrant Vagrants (VVV) for WordPress Development
To summarize, while a traditional LAMP stack is a solid way to develop websites locally, tools such as Vagrant and VirtualBox supercharge the process.
Varying Vagrant Vagrants (VVV) is an odd-sounding solution to help you leverage the power of virtual machines to create WordPress sites. This would normally need a few extra steps if you were taking a traditional route for development.
It’s run from the command line, and includes practically everything you’ll need to get things set up:
Once installed, you start VVV from the command line with vagrant up, and stop it using vagrant halt. Sites are created in a dedicated configuration file:
Any changes you make to your VVV install need to be ‘provisioned’ using a dedicated provision command.
The site you create runs within a virtual sandbox environment. This means any issues are unique to that environment and can’t affect your actual computer.
WordPress is installed and ready to roll from the off, so once the site is created, you access it as you would a live site, using .test as your Top Level Domain (TLD). However, these sites are only accessible through your computer in most cases.
This is great for running server-like configurations, as you’re able to work with a similar setup to your live server, and diagnose any bugs while in development. You’ll potentially save time and money by having a more consistent path between your development environment and live server.
The Alternatives to Varying Vagrant Vagrants
While this article will focus on using VVV for WordPress development, it’s worth mentioning some alternatives. VVV isn’t going to be the right solution for everyone.
We suggest you need at least a working knowledge of code, given how much you’ll use the command line and configuration files. Debugging VVV issues will have to take place through the command line too. What’s more, support channels are through GitHub, so you’ll need to be able to articulate your issues to other programmers.
If you want to leverage the power of VVV but don’t like the idea of coding, there are some great alternatives.
1. The most well-known is DesktopServer.
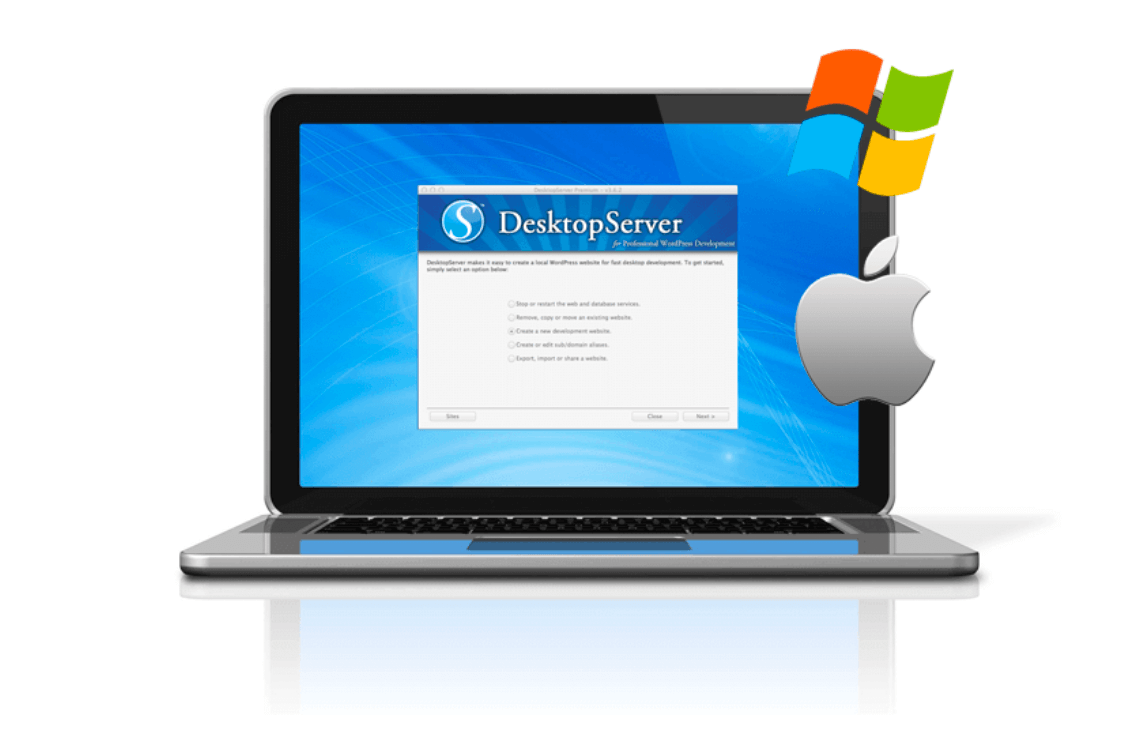
This uses an ‘XAMPP’ stack to create WordPress sites through a dedicated Graphical User Interface (GUI), and is super-quick and easy to use.
2. Another similar alternative is Local by Flywheel:
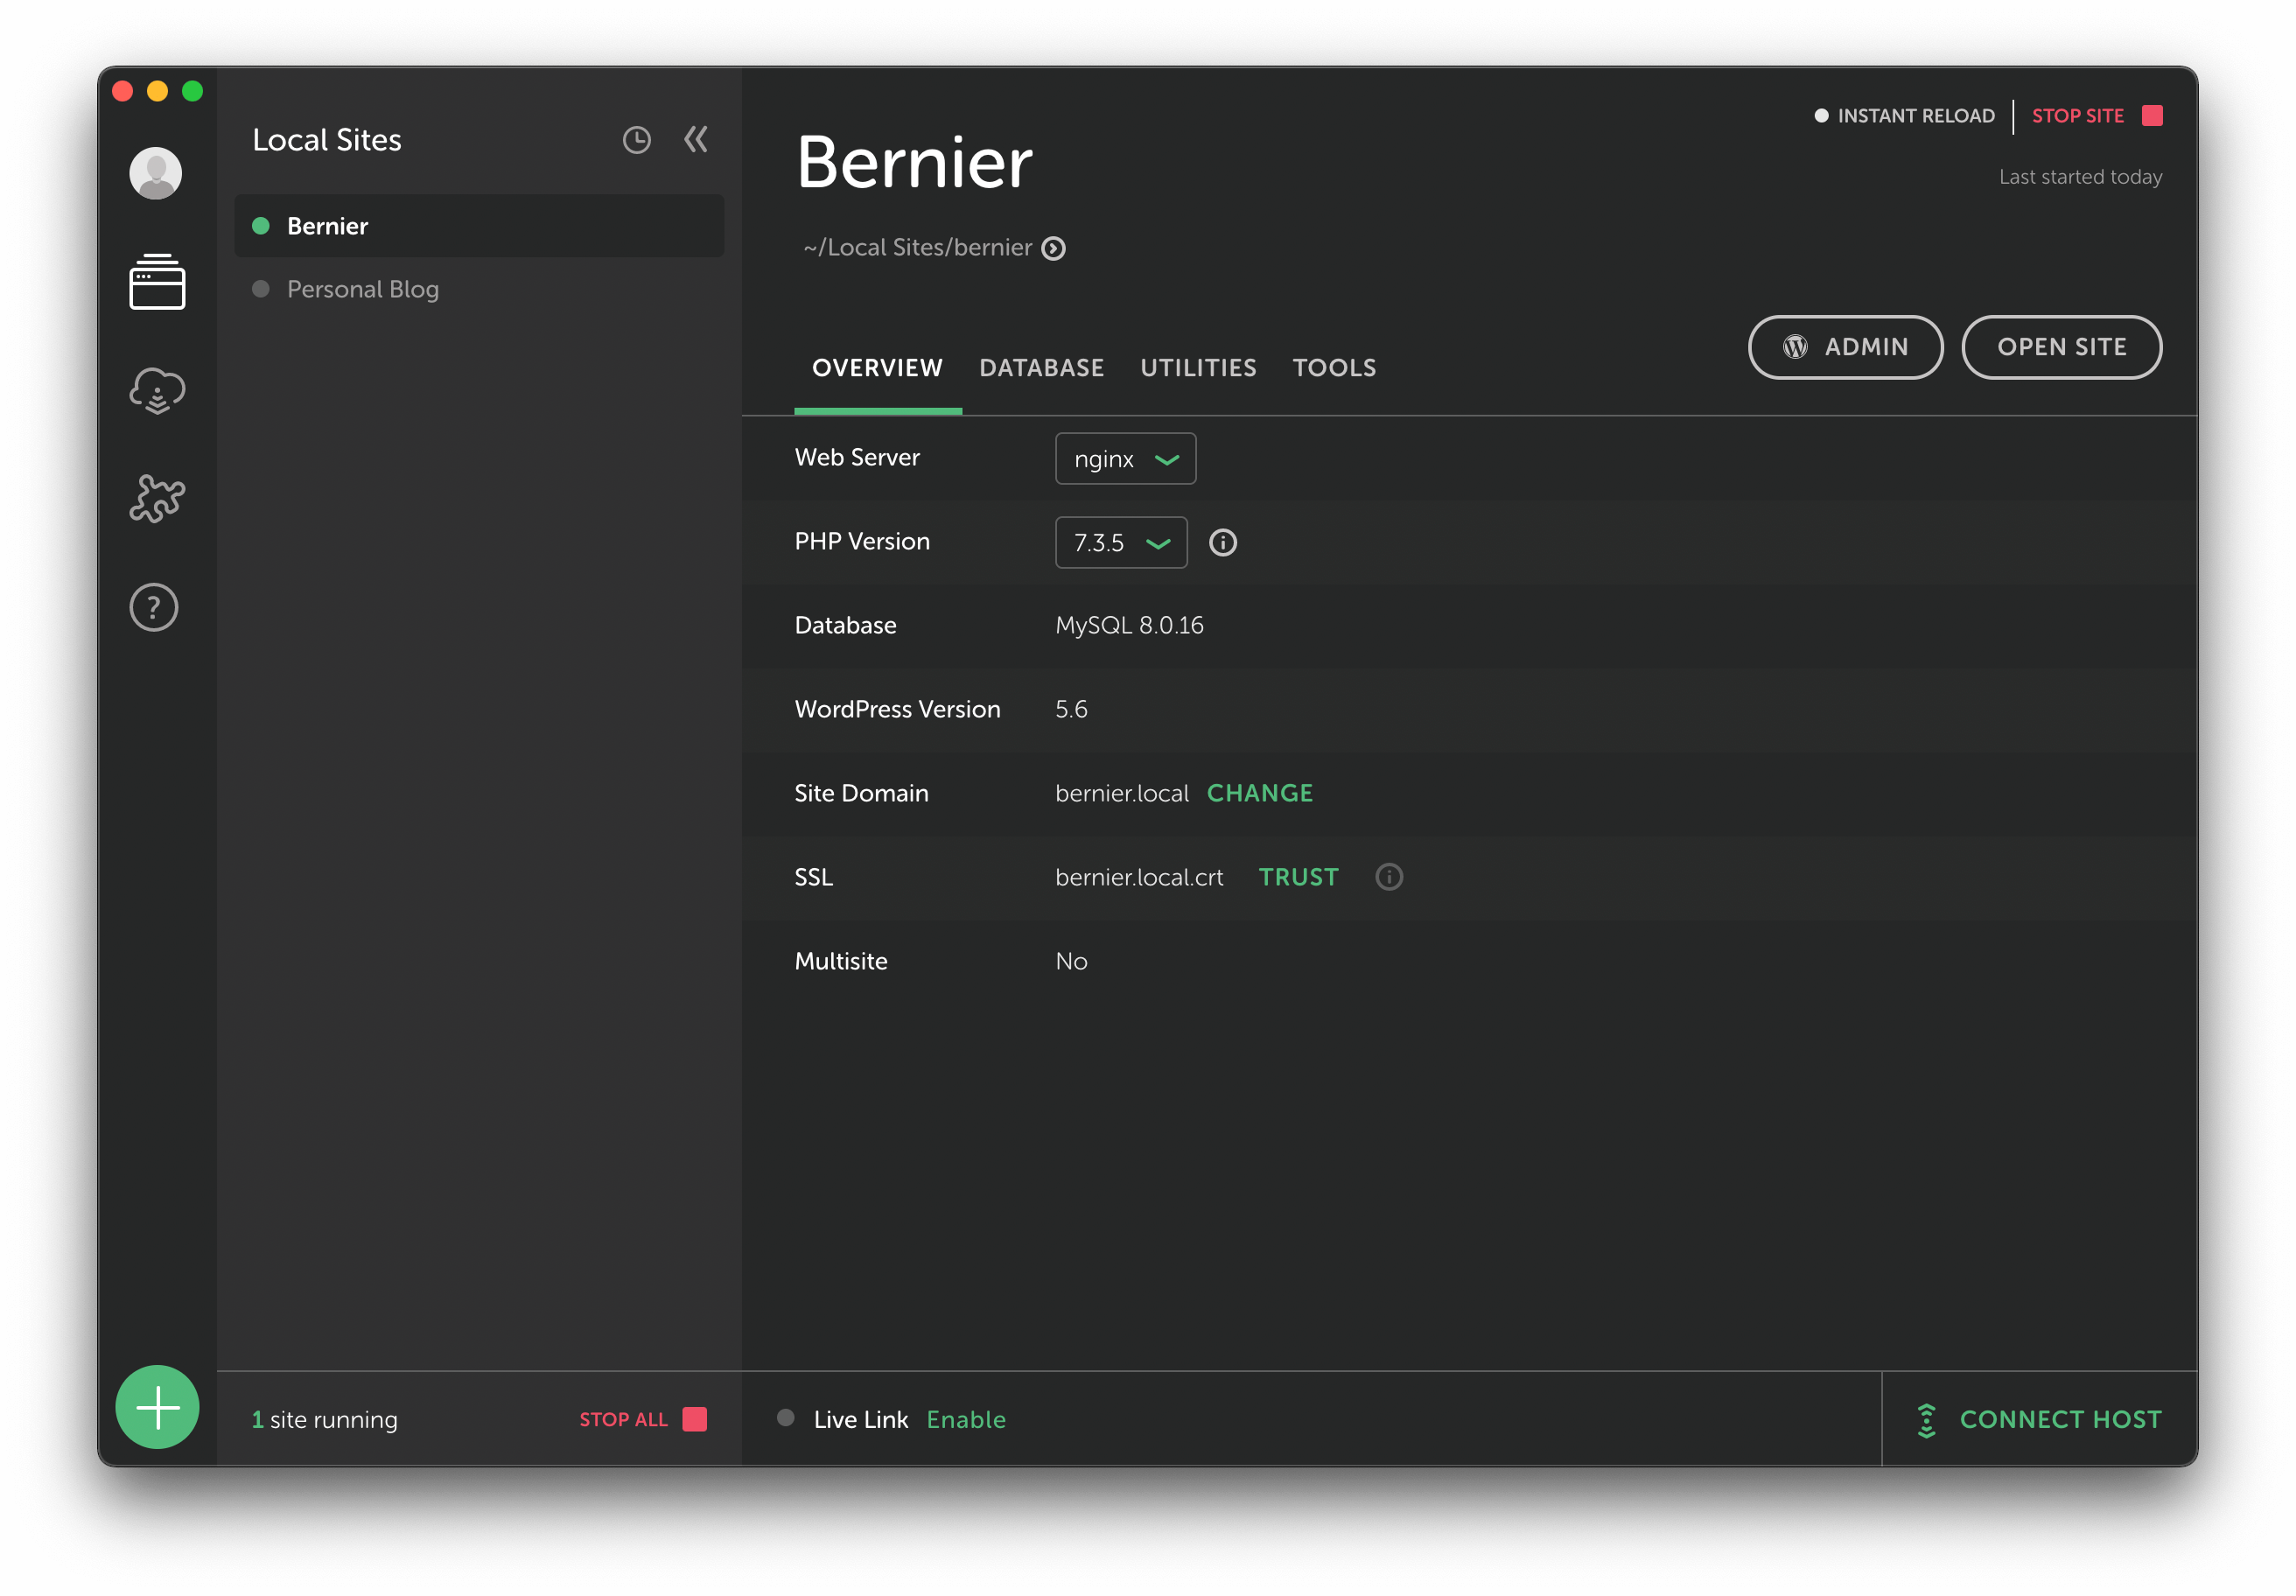
This has an arguably sleeker look to its GUI, and runs a touch quicker using Docker – consider this an alternative to Vagrant.
While both solutions have a free tier, Local is more full-featured. However, both solutions have a bunch of cool premium features to check out that levels the playing field.
How to Use Varying Vagrant Vagrants (VVV) for WordPress Development (4 Steps)
Admittedly, getting set up with VVV is more complicated than other solutions. However, what you lose in ease of setup you gain in flexibility and portability.
Here are the four steps to create VVV WordPress sites:
- Get the tools you need before you start.
- Install VVV using the command line.
- Use the config.yml file to create your new site.
- Access your site using the VVV dashboard.
Let’s take a look at each step, starting with your tools.
Step 1: Gather Your Tools
Any good chef is au fait with mise en place. In other words, to cook up a WordPress development environment, you’ll want to get all of your tools and skills together, ready to begin.
There are a few system and software requirements for VVV. Here’s what you’ll need:
- Administrative access to the command line. Whatever your OS uses by default (such as the Terminal on Mac, Command Prompt on Windows, and Shell on Linux) is perfect. You may also need to spruce up your skills if they’re rusty.
- The latest version of Vagrant. This is the stack you’ll use to power your installations, and can be installed using a standard download package.
- The latest version of VirtualBox. This provides the virtual OS for your VVV installation. Again, it’s a straightforward download.
- The Git Version Control System (VCS). This is a developer-focused tool that lets you track changes in the projects you create. For this application, we’ll be using it to download VVV.
Before you begin installing VVV, it’s a good idea to download and install any components not already on your computer. Errors in VVV can be frustrating, and tempting fate isn’t advised, especially if this is your first time working with the software involved.
Also, note that Mac machines with an M1 processor currently can’t currently use VVV and VirtualBox (due to an issue with the latter) unless you use workarounds that don’t work consistently. As such, you may want to consider an alternative solution, at least on a temporary basis.
Step 2: Install VVV On Your Computer
To summarize, you’ll need Vagrant, VirtualBox, and Git installed before this step. Once you’re ready, open your command line, and type the following:
git clone -b stable git://github.com/Varying-Vagrant-Vagrants/VVV.git ~/vagrant-local
This asks the Git VCS to copy the file at the given URL, and download it into a folder called vagrant-local, located in your Home folder:
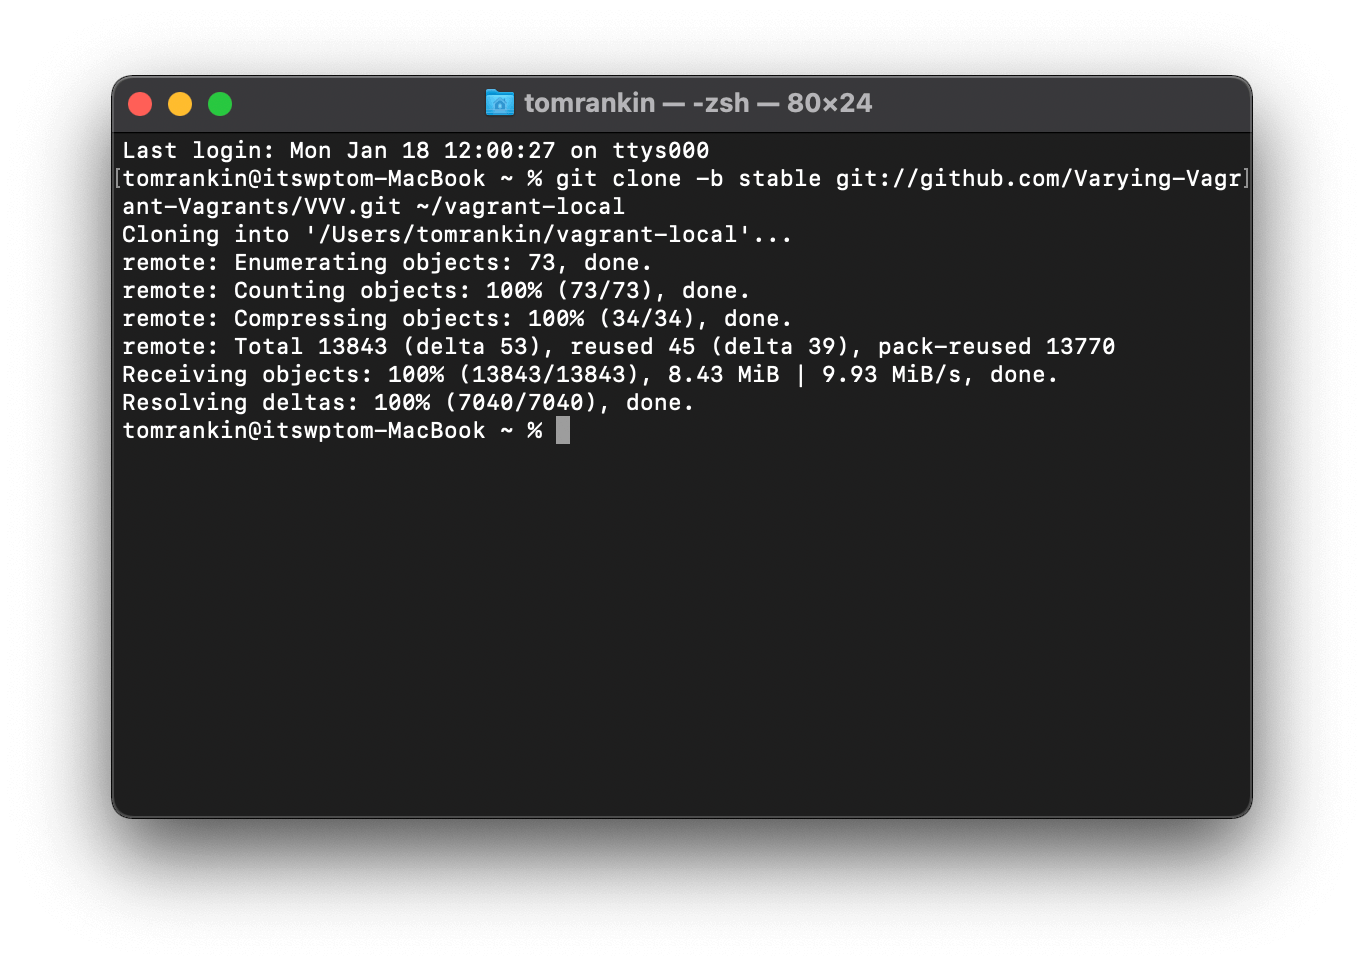
This should take seconds depending on your internet connection, and once you get a success message, you’re almost up and running.
Step 3: Create Your New Site Within the config.yml File
Before you fire up VVV for the first time, it’s a good idea to create a fresh copy of your config.yml file. This preserves the default sites, and also gives you a chance to create fresh ones:
- Open the command line and move into your home VVV folder (usually vagrant-local) using the
cd vagrant-localcommand. - Run
vagrant status, which will duplicate and rename the file.
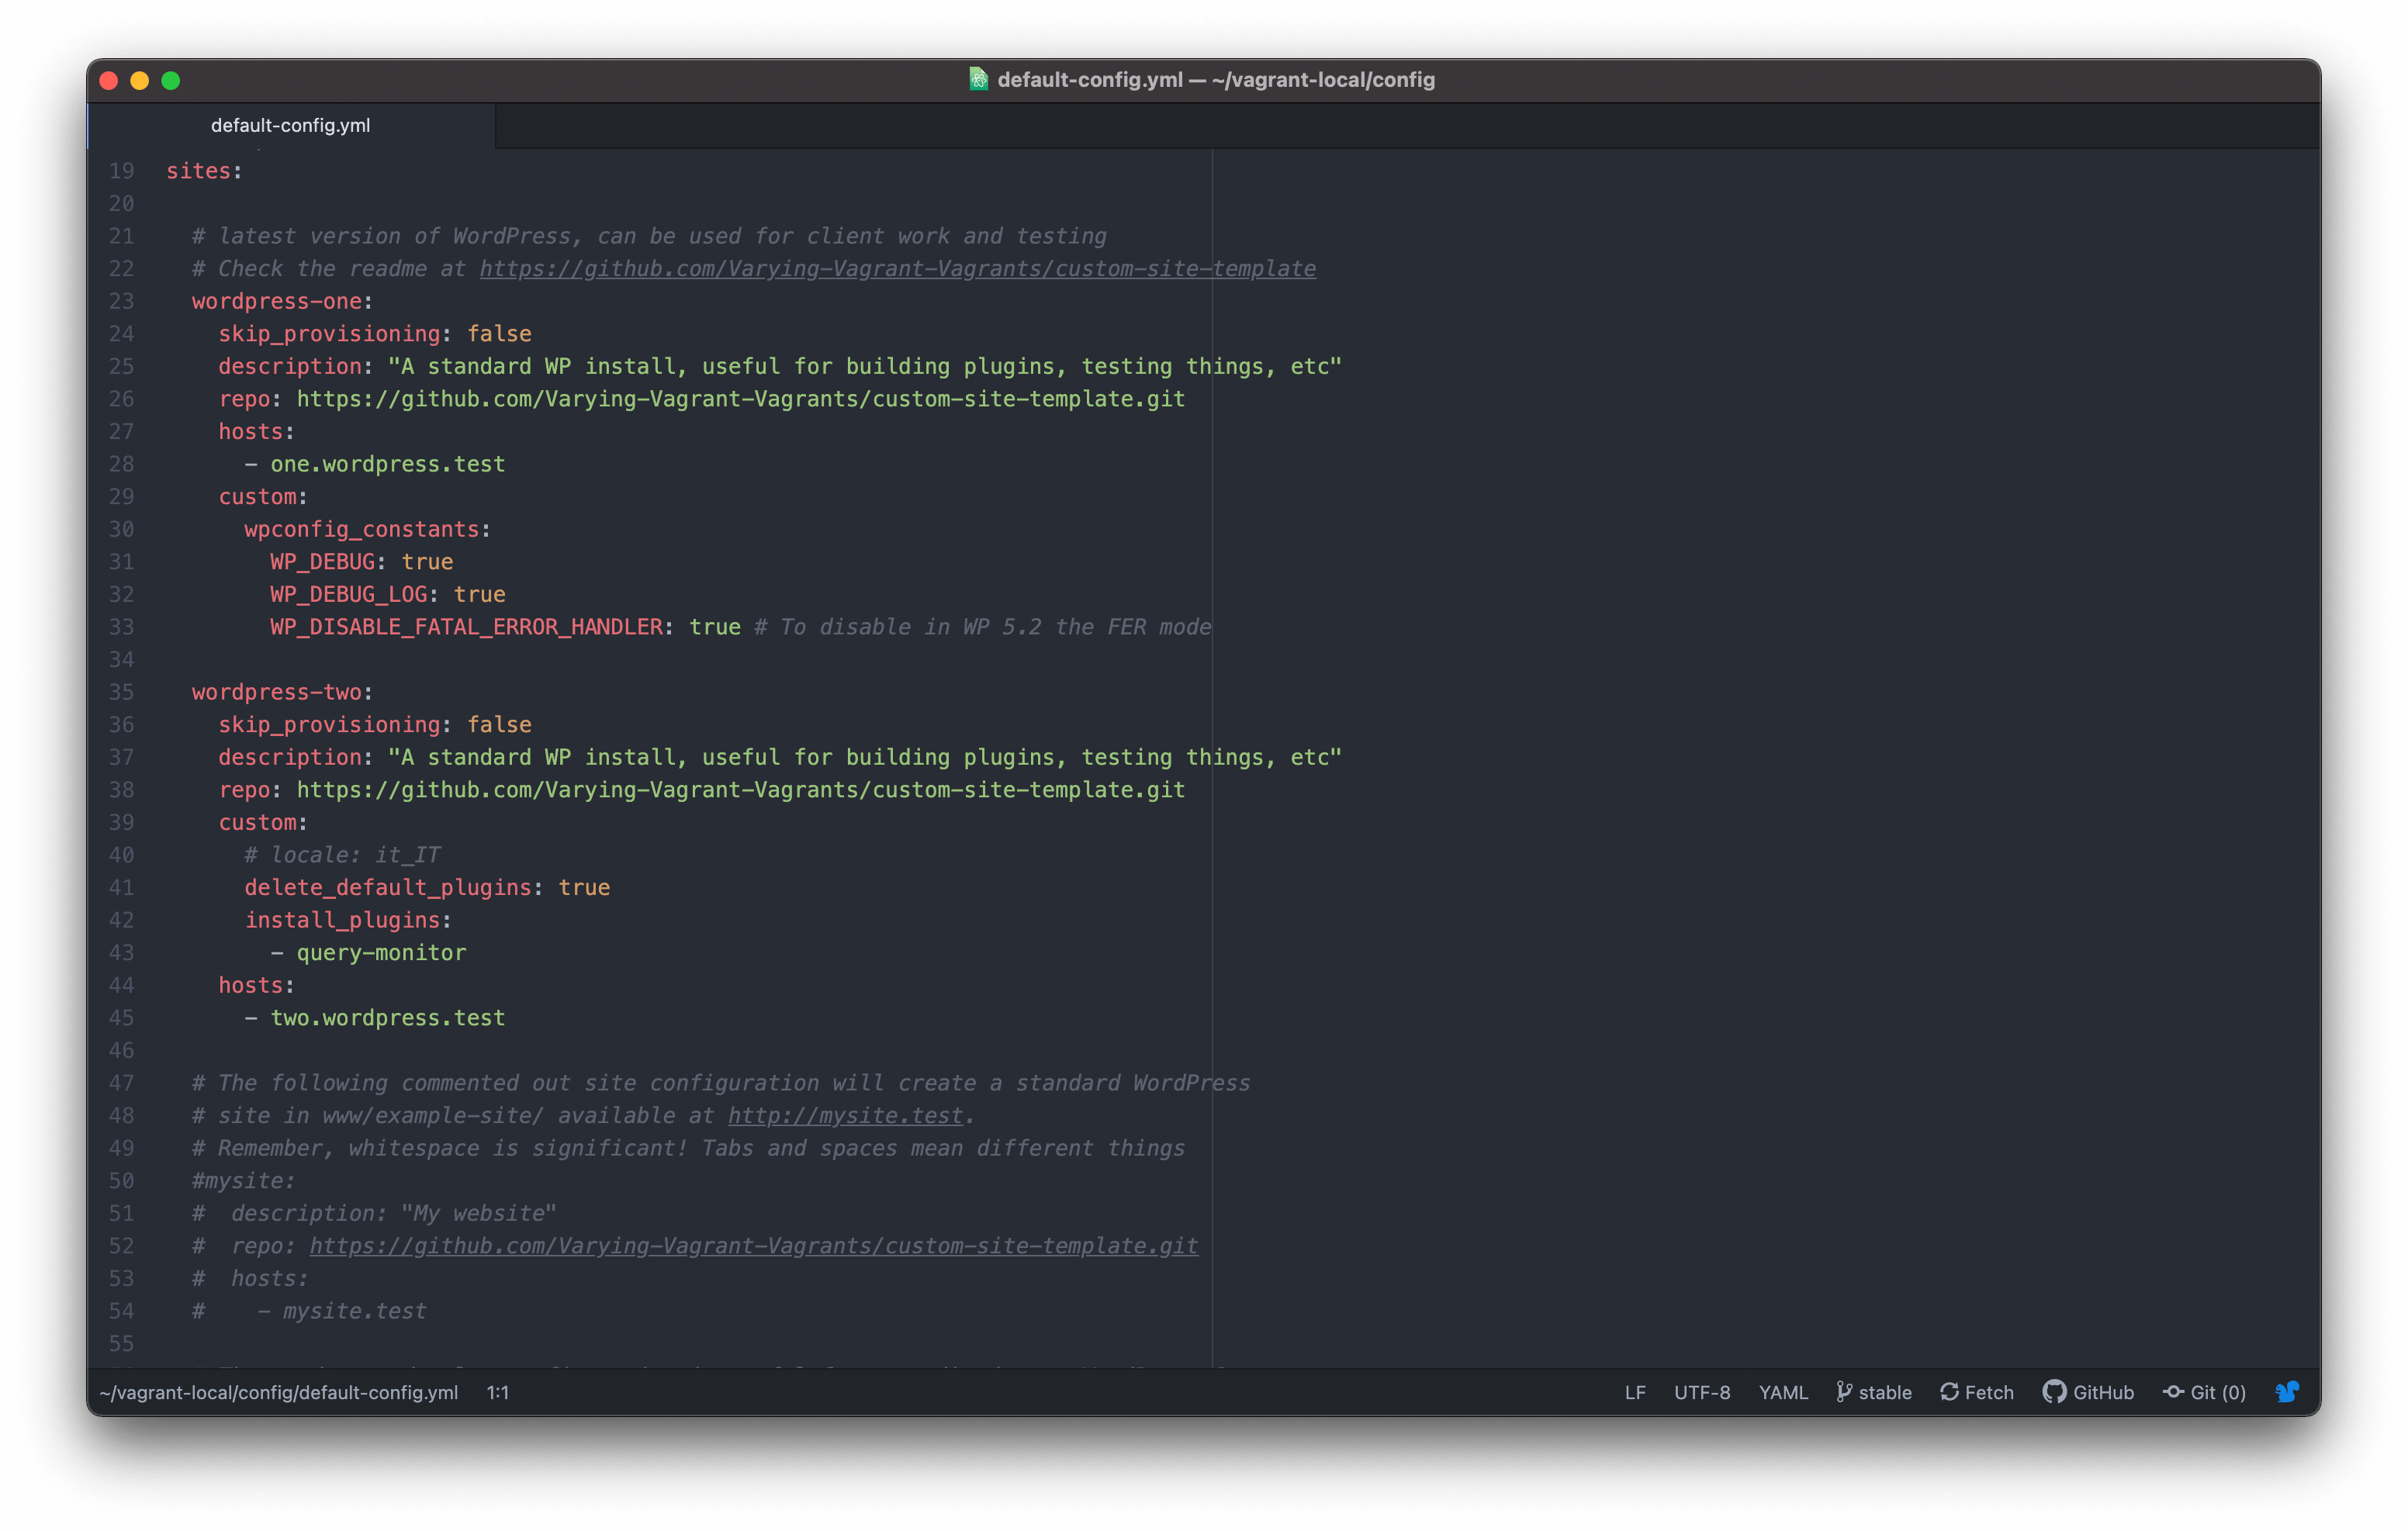
Next, open the config.yml file within a text editor such as Atom or Sublime Text.
Editing the config.yml File
This file contains all the configurations you’ll need to create and administer to sites:
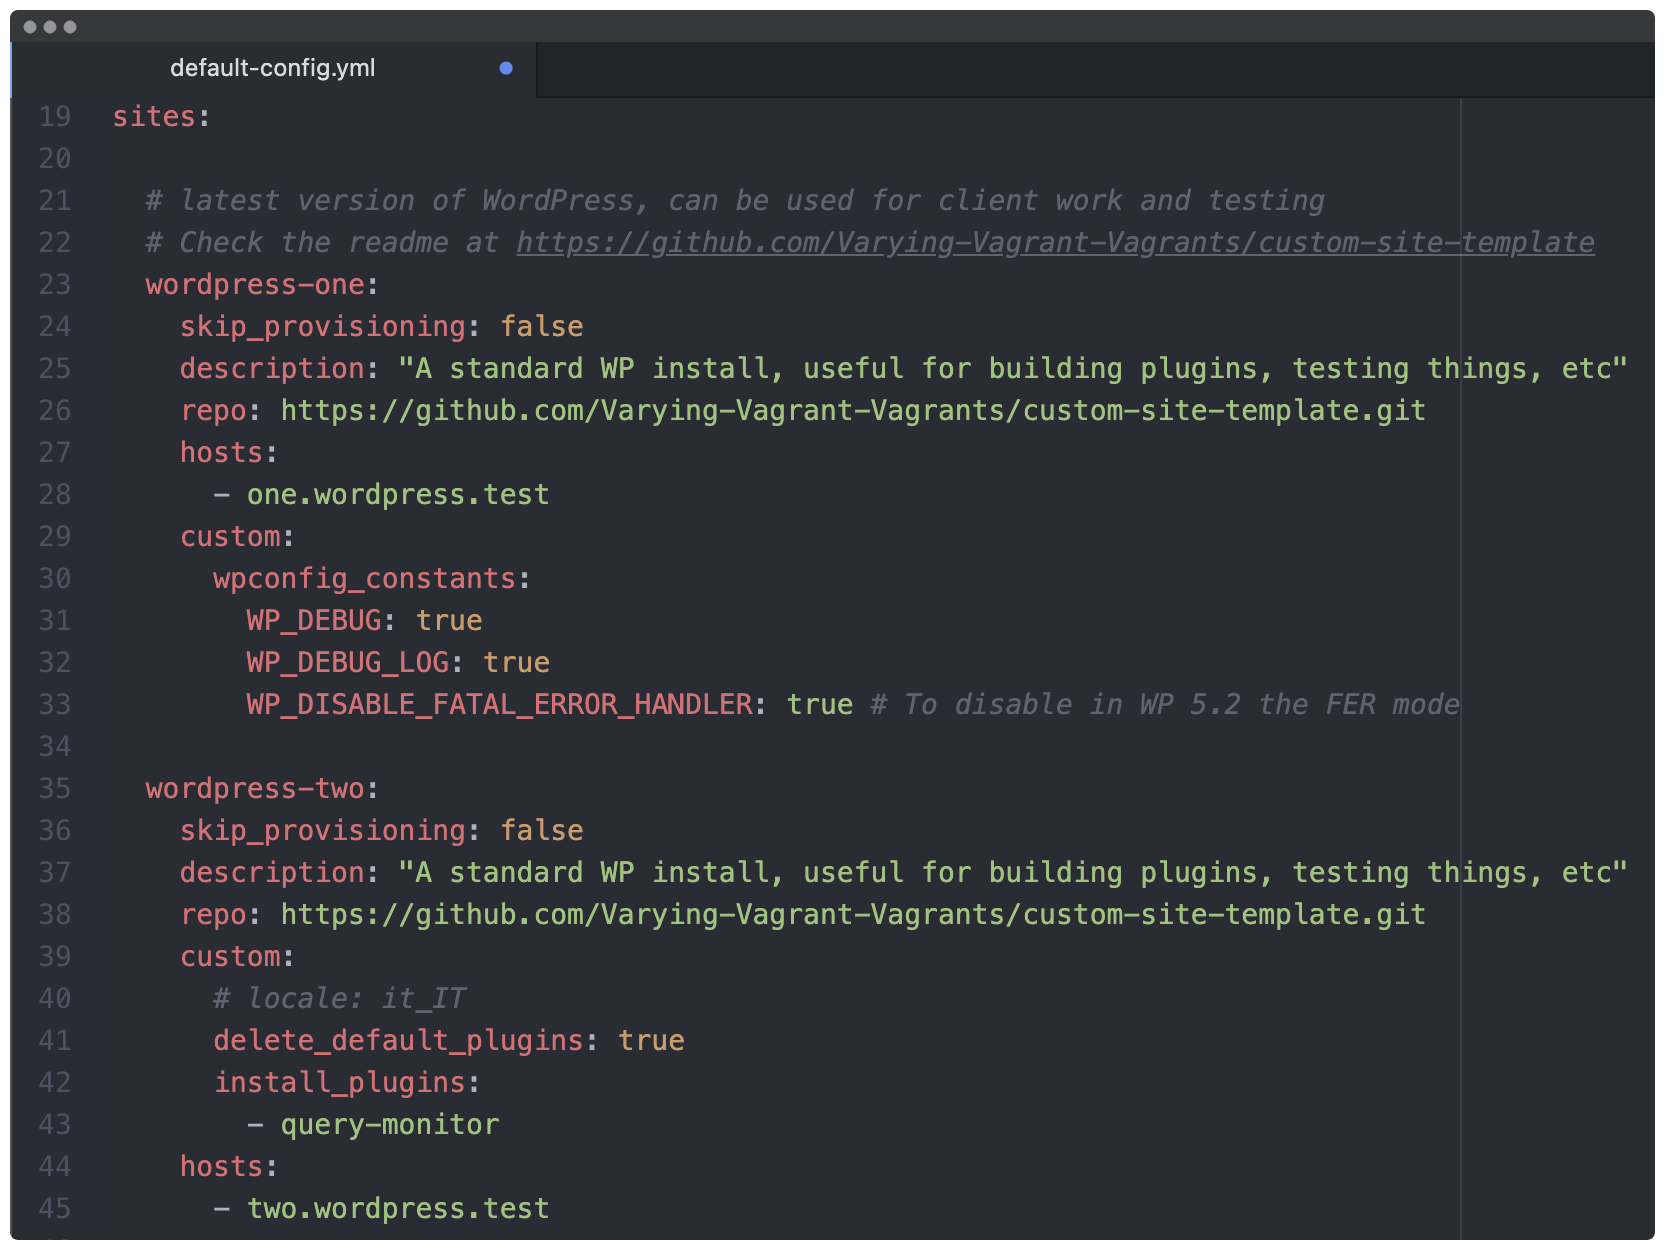
There are lots of options, although we’re going to focus on the sites section. Here, follow the format and layout of the existing sites, and add the following ‘boilerplate’ code:
mysite:
  repo: https://github.com/Varying-Vagrant-Vagrants/custom-site-template.git
  hosts:
    - mysite.test
This tells VVV to create a new site using a predefined template, using the URL mysite.test. When you’re ready, save your changes, and head back to the command line.
Step 4: Access Your VVV WordPress Site
The final step is to access your VVV WordPress site. You’ll find them all within a browser-based dashboard, and to get to it, carry out the following:
- Open the command line, and make sure you’re in the right directory by running
cd vagrant-local. - Run
vagrant up. This tells Vagrant and VVV to start. - Potentially enter your administrator password, and follow the instructions to install the GoodHosts plugin, which lets you access the dashboard using a ‘pretty’ URL.
- Select a network – usually your Wi-Fi under option 1.
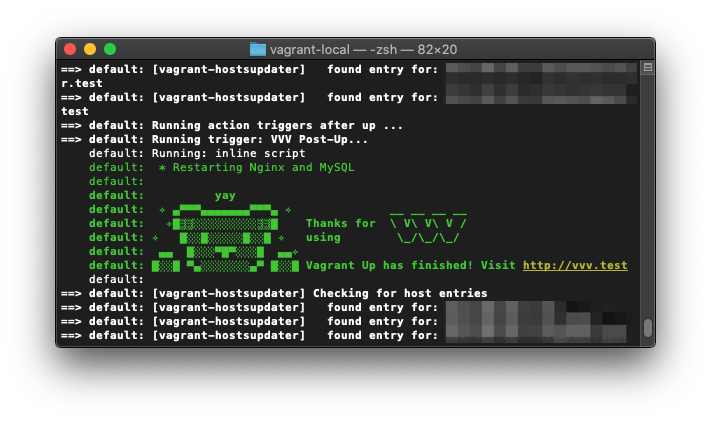
At this point, you should be patient as VVV does its thing. Once you see the ‘teddy bear’ and VVV logo, you’re ready to access the dashboard.
Opening Your VVV WordPress Site
To get to the dashboard, open your browser and head to vvv.test. You’ll be shown a list of all of your sites (with a clickable URL) along with other related information:
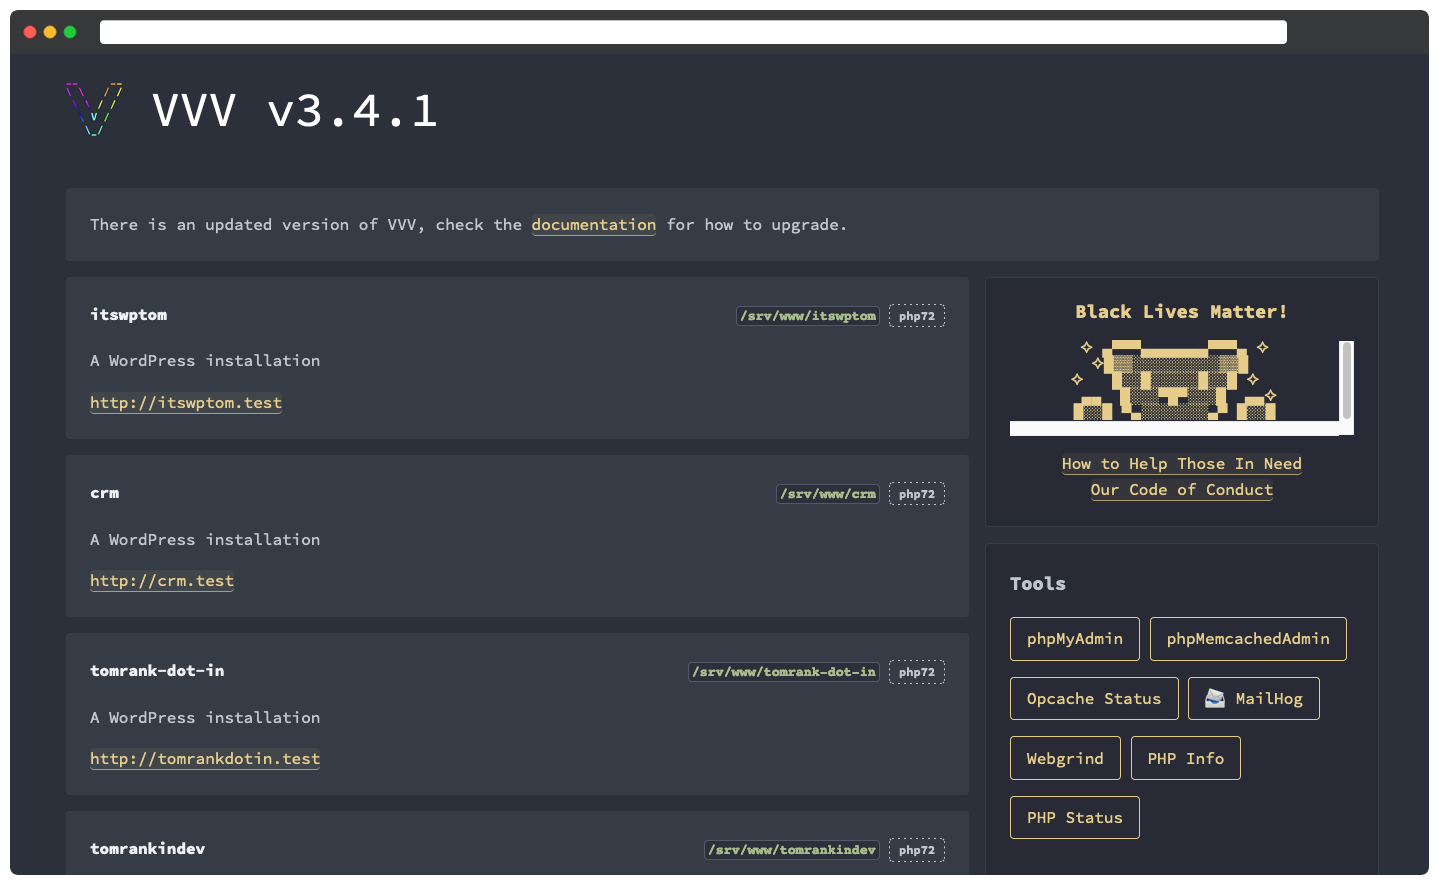
Note that you don’t need to access the dashboard every time you fire up VVV. You could simply head to the wp-admin page of your site to log straight in, as you would with any other WordPress site. The default credentials are:
- Username: admin
- Password: password
Finally, you’re able to expand on the site template within the config.yml file to create a completely custom version of a WordPress install. The official GitHub VVV page offers all of the details, and even includes examples of various niche WordPress sites.
In Summary
Spinning up a new WordPress website is full of excitement and promise, as it means your project is in its next stage. To make sure you’re focused solely on developing your site, we recommend using a local tool such as VVV.
This post has offered four steps for getting started with VVV for WordPress development. Let’s recap the steps:
- Download and install everything you’ll need to run VVV, such as a Vagrant, VirtualBox, and anything required by your system.
- Install VVV through your command line.
- Work within the config.yml file to create the parameters for your new site.
- Fire up the dedicated URL to your VVV WordPress site and begin developing it.
Are you considering using VVV to create WordPress websites, or are you weighing up another tool? Share your thoughts in the comments section below!


Leave a Reply